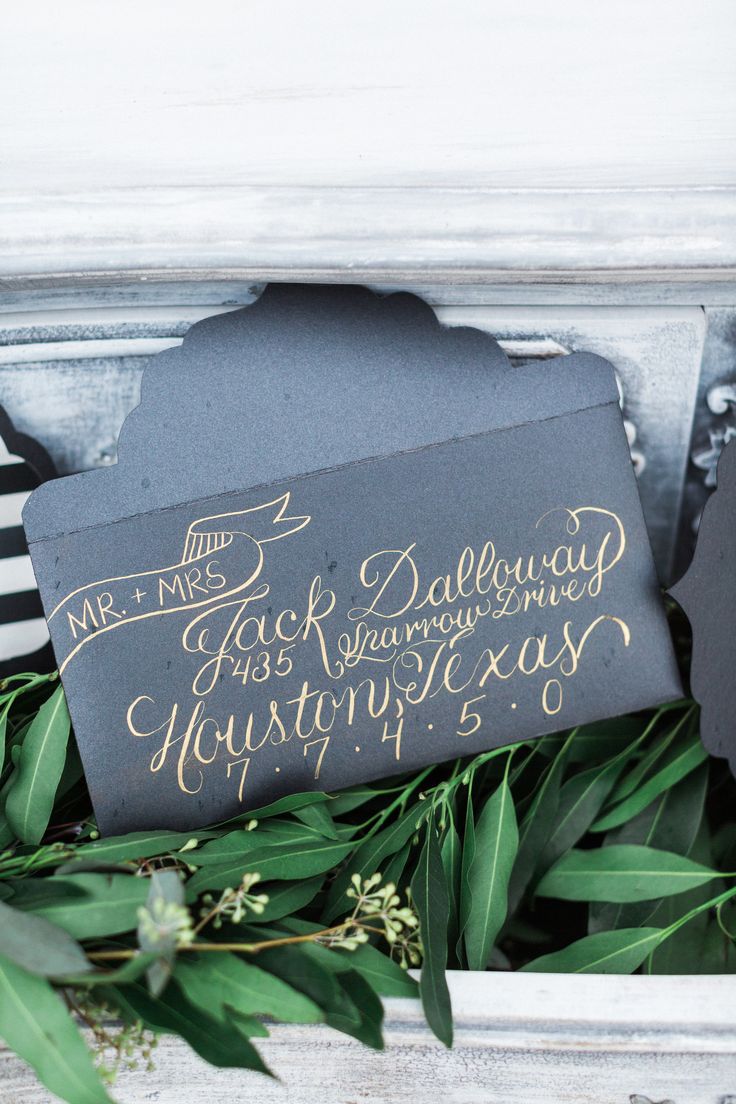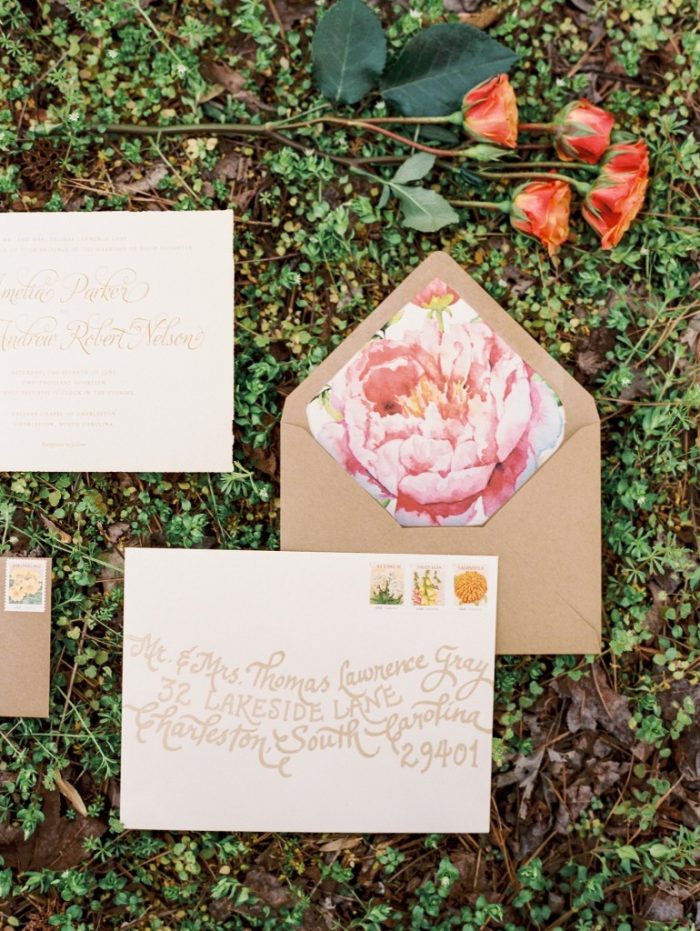
One. Make sure the ink you use is legible on your background. Think contrast here. If you have dark envelops, use white ink.
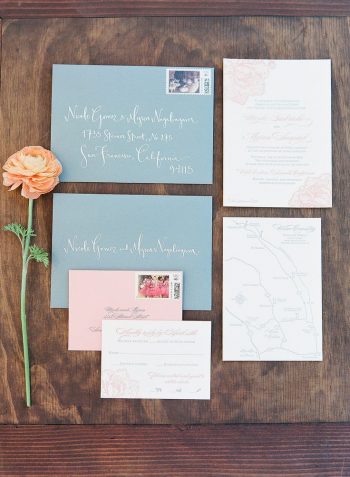
Two: Proofread your invitation carefully! In fact, give it to someone else to proofread too. Once your invitations are printed they’re yours. If you’ve made a mistake, you’ll like have to absorb the cost of the first run and pay of the corrects run.
Three: If you are on a budget, or stationery is not a priority and you want to save money in this area, but you’re not interested in going the DIY route, consider a machine printed suite and forgo some of the enclosures, like a separate reception card and the map. Also, cutting back on embellishments like envelope liners and overlays will reduce your postage costs.
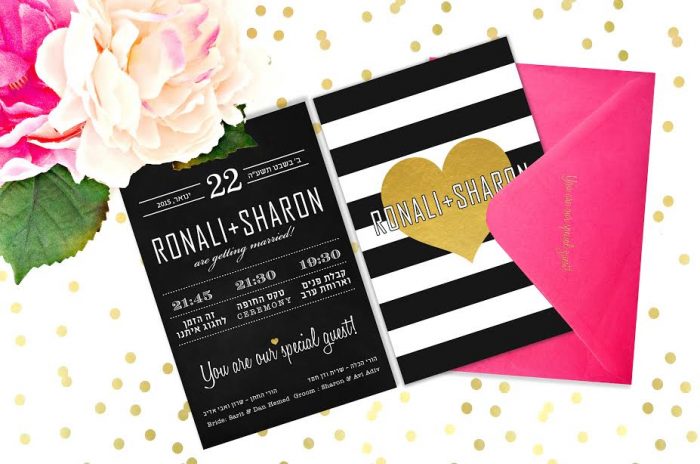
Four. Do not include your registry information on your invitations. It’s tacky. Period. Instead, include your wedding wedding website URL and include registry information there.
Five. Order a handful of extra invitations: one as a keepsake, one as a test mailing to yourself so you can see what condition it arrives in and a few more for last minute invites.
Six. Ask that your invitations be “hand canceled,” meaning that a real person will “cancel” the postage by hand with a stamp instead of sending it through a canceling machine. This helps keep the condition of the invitation good.
Seven. Get creative with your RSVPs. Let’s guests write in their own words by putting “Accepts with __________” on your RSVP cards.
Eight. Personalize your stamps with vintage or location specific stamps. You can find lots of stamps on Etsy or eBay.
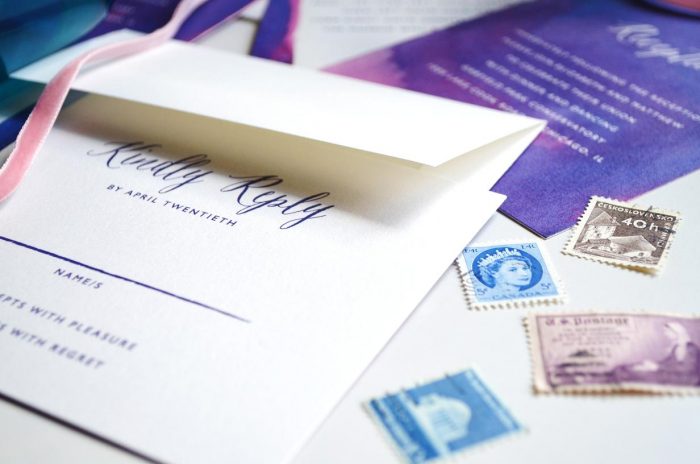
Nine. Add a pretty trinket or embellishment.
Ten. Use unconventional “envelopes” like leather, wine boxes or small gift boxes.
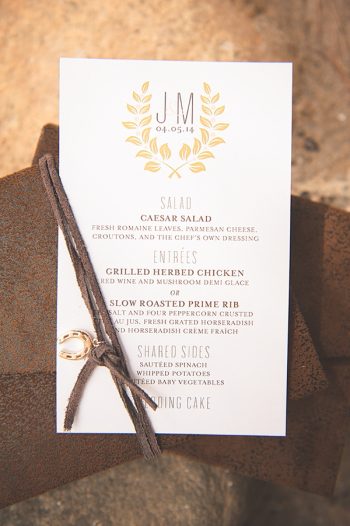
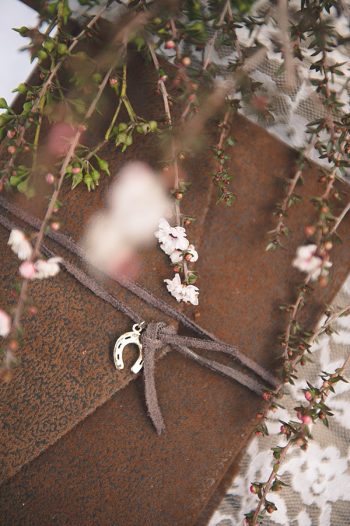
Eleven. Give more notice than you think you need for Destination Mountain Weddings. The typical time to send save the dates is 3-4 months prior to the wedding, but if you’re planning a destination mountain wedding where many guests will have to travel form across the country or if you’re planning a wedding on a holiday weekend, send Save the Date cards at least 6 month prior to the wedding, but sending them out 8 or even 12 months out is fine. No one will complain about having extra time to plan.
Twelve. Do not include “no children” on your invitations. This is implied by the names on the envelope. You can also call your friends and family to discuss your decision. See no children post for tips on how to handle this emotional decision.
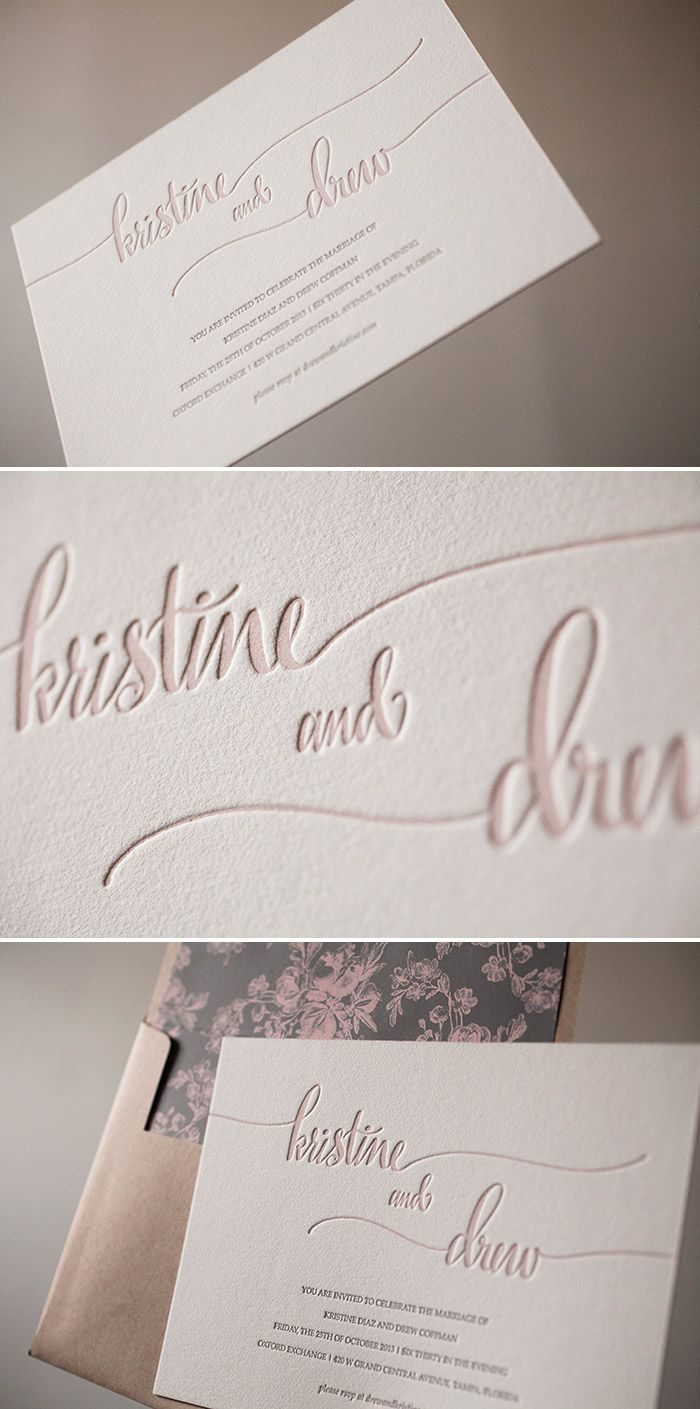
Thirteen. Sent thank you notes within two weeks. There’s a foolish rumor going around that you have a year to send thank you notes. That is wrong. Send thank you notes within 2 weeks of receiving a gift. Check out these posts for thank you note templates and tips on streamlining the process.
Fourteen. Don’t worry about being matchy-matchy. As long as your suite has consistent theme, colors and fonts you can have a little fun and mix things up with the other design elements.
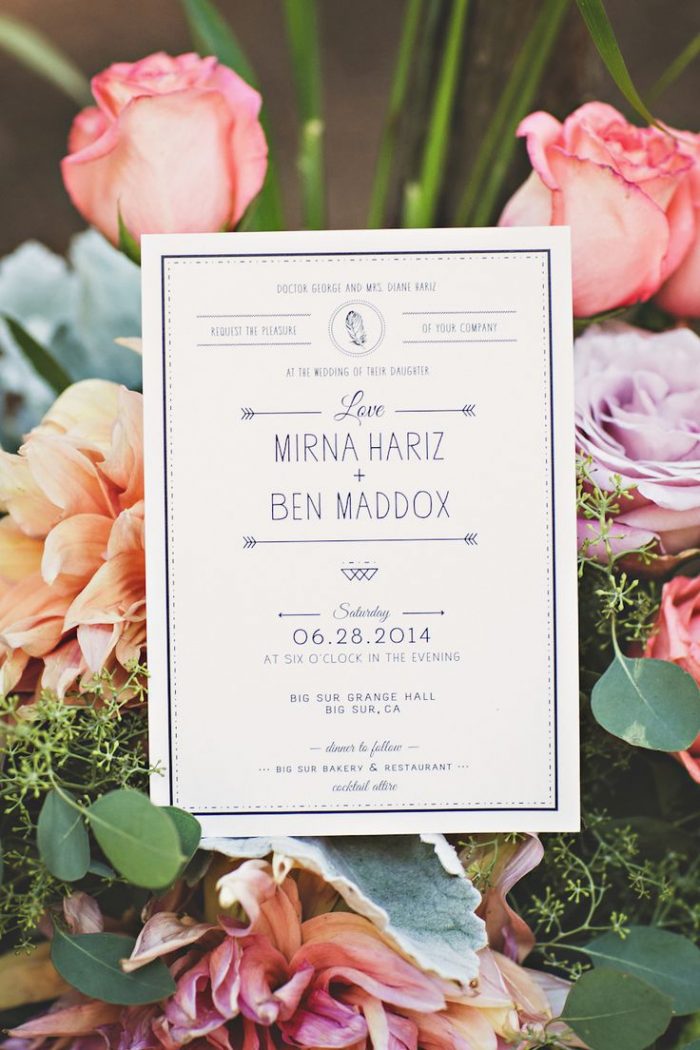
Fifteen. Make sure you know the correct postage for your invitations. The US Post Office charges extra for certain envelope sizes as well as for additional weight. Make sure to have the suite examined and weight by a postal worker to determine the correct postage. Check out this post and this one for more Post Office tips.
Image Credits
Invitation #1: Big Flourish | Invitation #2: Photography: Awake Photography; Stationary Suite: My Urban Invites; via Style Me Pretty | Invitation #3: Photography: Em The Gem; Invitations: The Aerialist Press; Calligraphy: Kathryn Murray via Style Me Pretty | Invitation #4: Invitations: Michal Ben Abir via My Big Day | Invitation #5: Minted via Classic Bride | Invitation #6 & 7: Concept Design & Photography: Bit of Ivory Photography; Stationery: Paper and Home via Hey Wedding Lady | Invitation #8: Prees’d | Invitation #9: Photography:Briana Purser Photography; Invitation:Donaji Mejia; via Style Me Pretty

