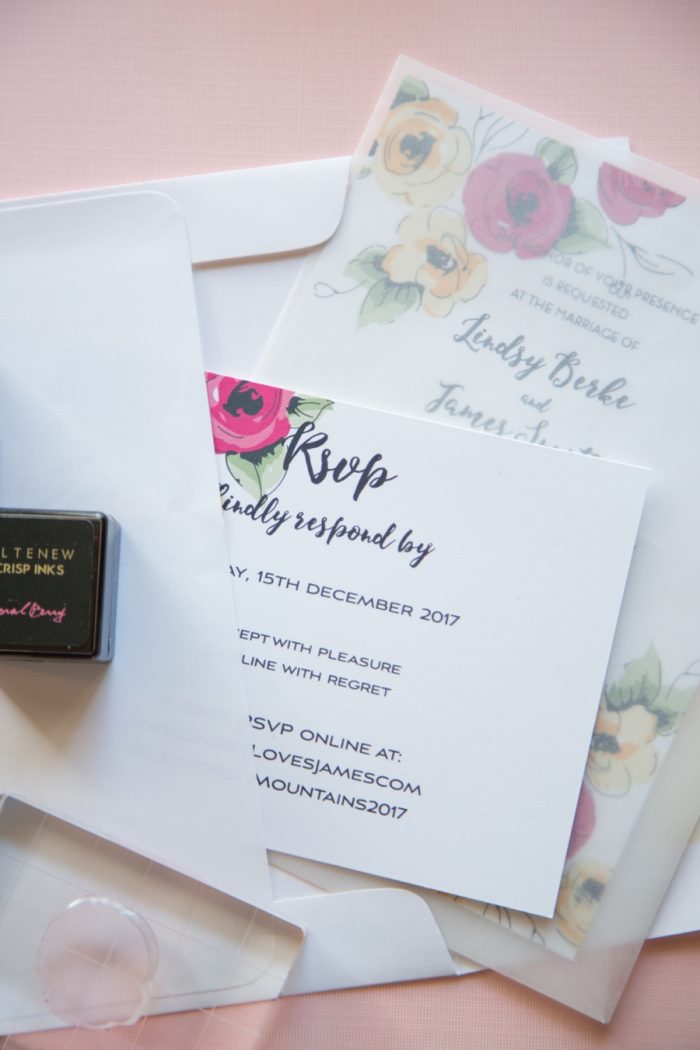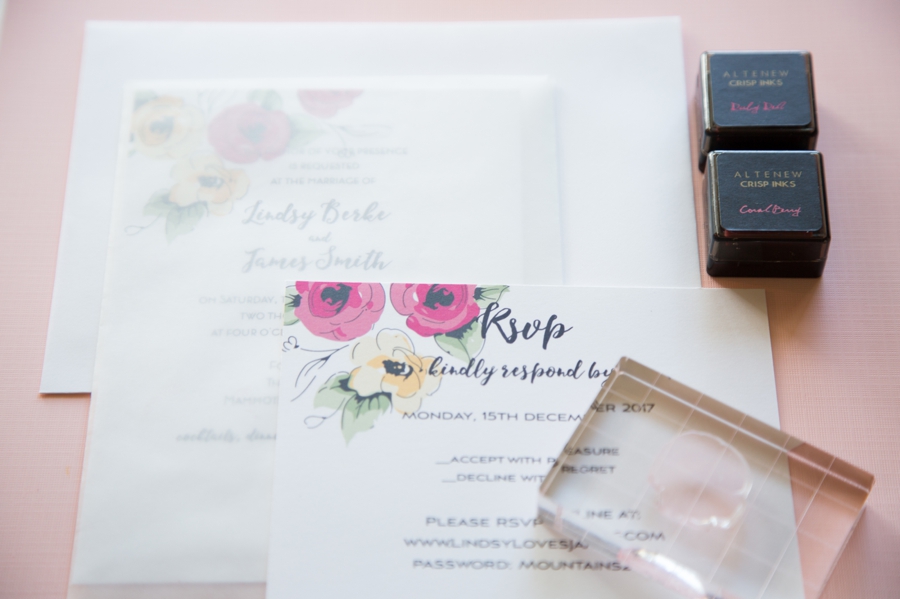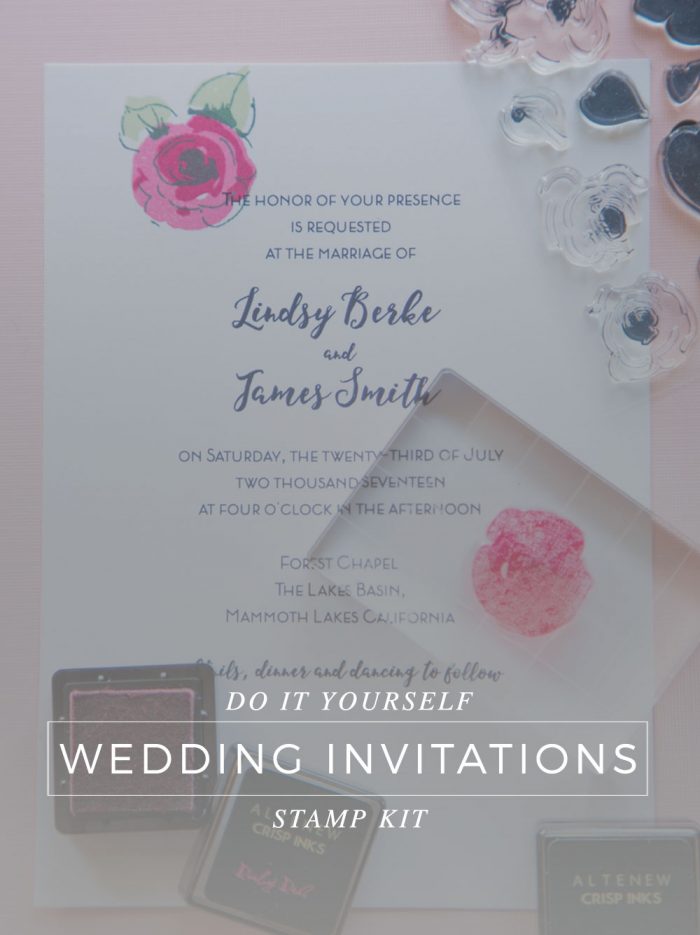
I’m so excited to announce that Altenew has just released a Wedding Invitation Kit just for stampers. Altenew makes it super easy to design and customize your own wedding invitations, even if you’re a beginner. It comes with everything you need to create and send 50 handcrafted, personalized wedding invitations.
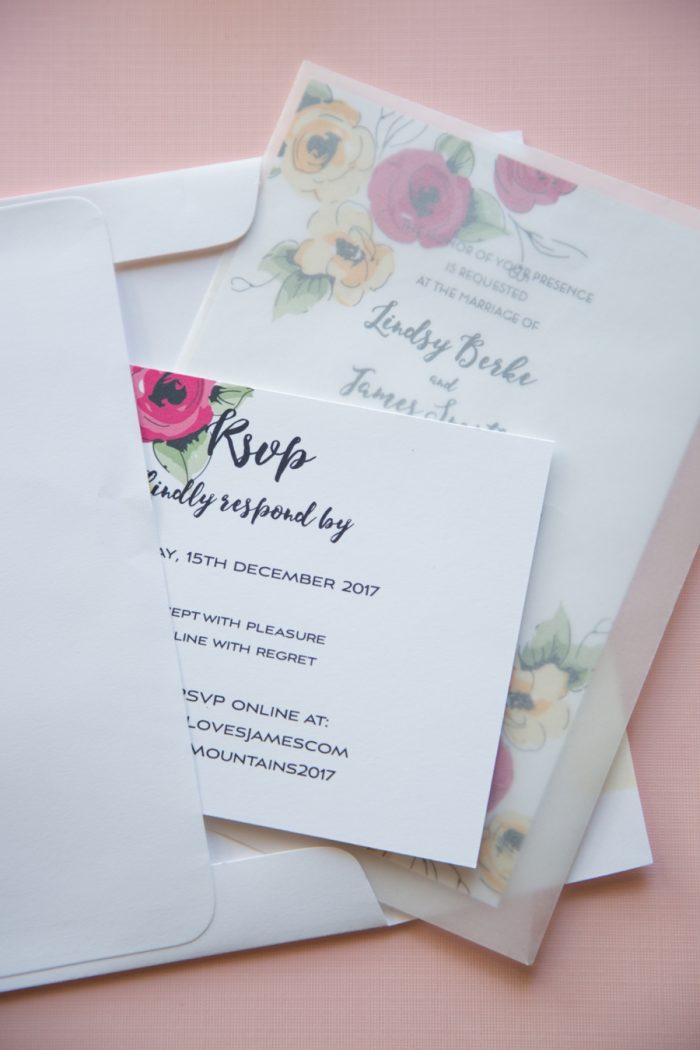
This kit is obviously designed with personalization in mind. The best part is the stamps and inks can be used again and again to create beautiful thank you and special occasion cards in your own unique personal style.
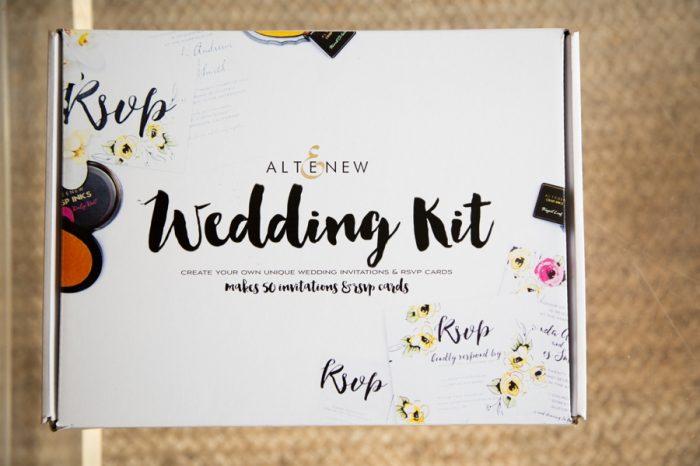
What’s In The Kit?
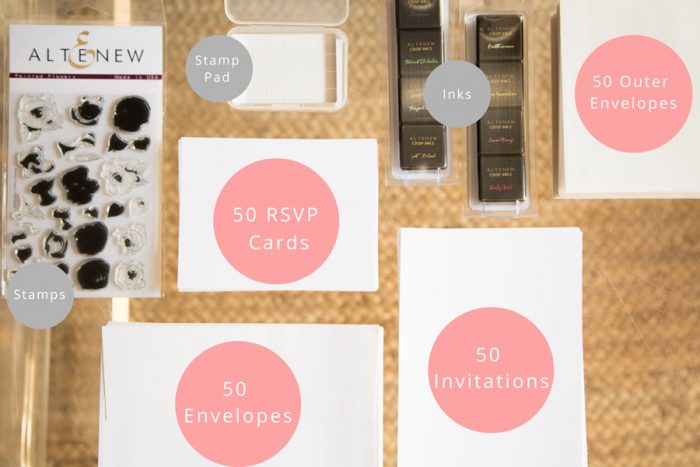
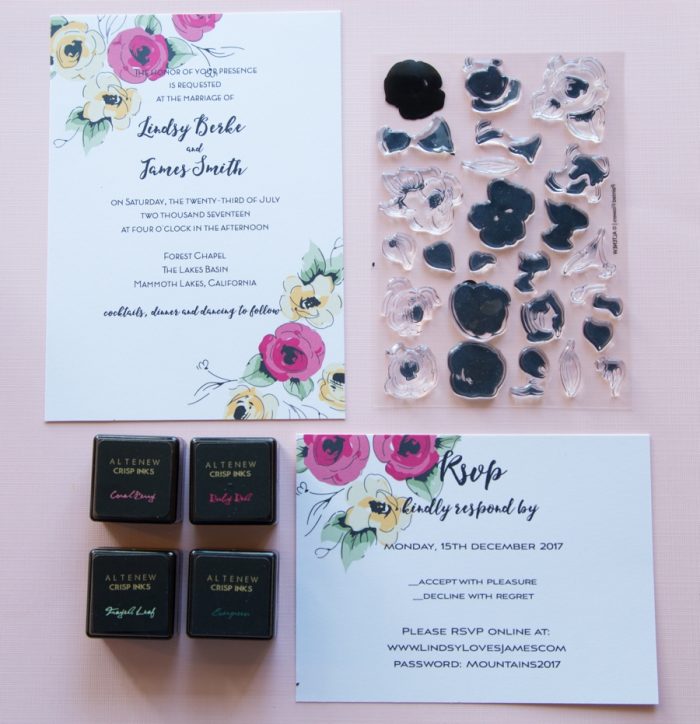
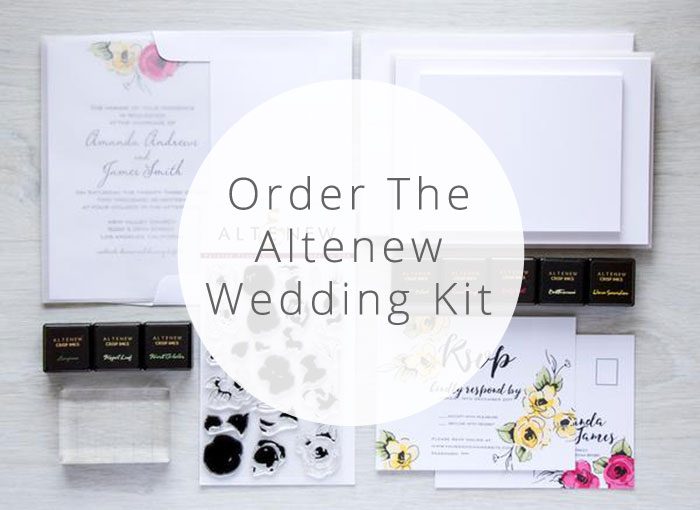
The wedding kit really does come with everything you need to send beautiful handmade wedding invitations. It includes:
- 50 Invitations
- 50 invitation envelopes
- 50 outer envelopes
- 50 RSVP cards
- 8 small ink pads
- 1 small clear stamp set
- 1 medium sized clear block
- 3 test sheets for each printable item
How it works: Step 1 Customize
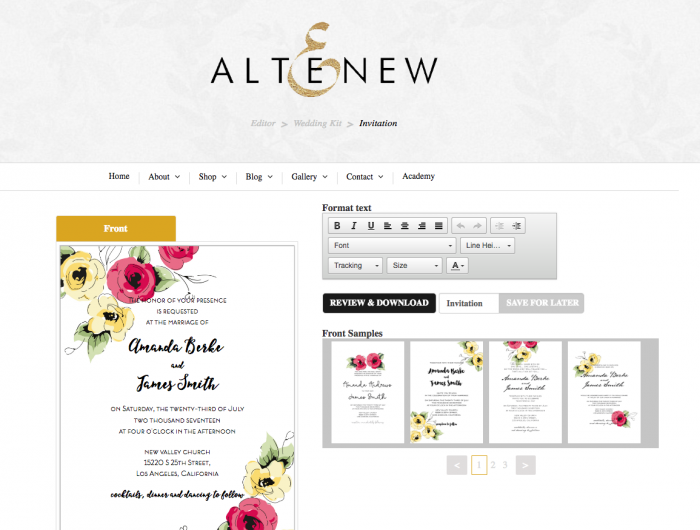
Sometimes, one of the most difficult aspects of printing your own wedding invitations is getting the template right. Altenew made this step super easy with an online interface that gives you access to 4 wedding invitation templates, and 8 modern and romantic fonts. Just go to http://altenewwedding.com/ and you can customize your name and details right in the browser. You can change the fonts, font sizes, alignment and font colors to suit your taste. When you’re happy with your design, simply download the PDF file. You can also include the floral background, so if you’d rather not stamp, or you’d like to save on time, you can print out Altenew’s floral designs. The website also includes templates for the RSVP and Thank You cards.
Step 2: Print
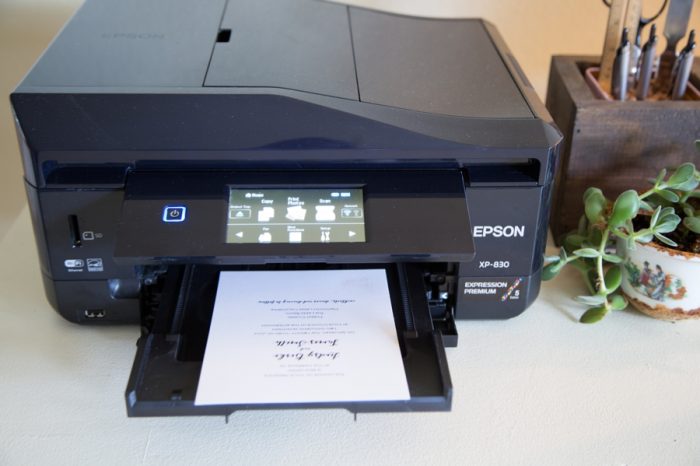
Printing these templates is easy because Altenew uses standard card sizes. The invitation is 5″X7″ and the RSVP is a standard A4 card size. Both sizes should be in the default paper size selection of your printer. If you’re using an Epson XP-830 with a read paper feeder, like I am, this also means that you can print full-bleed cards.
Step 3: Stamp!
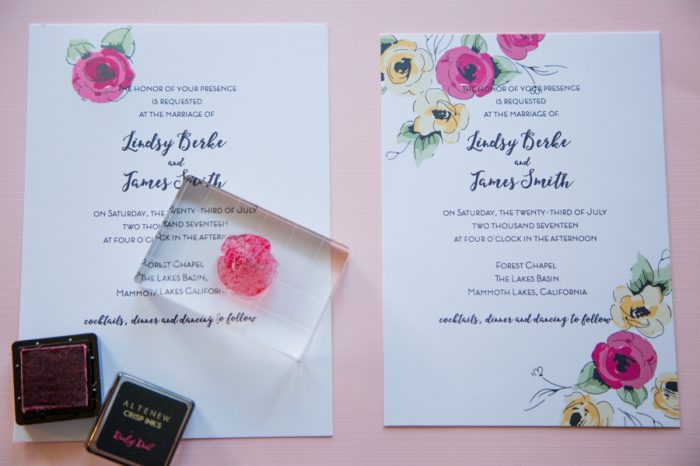
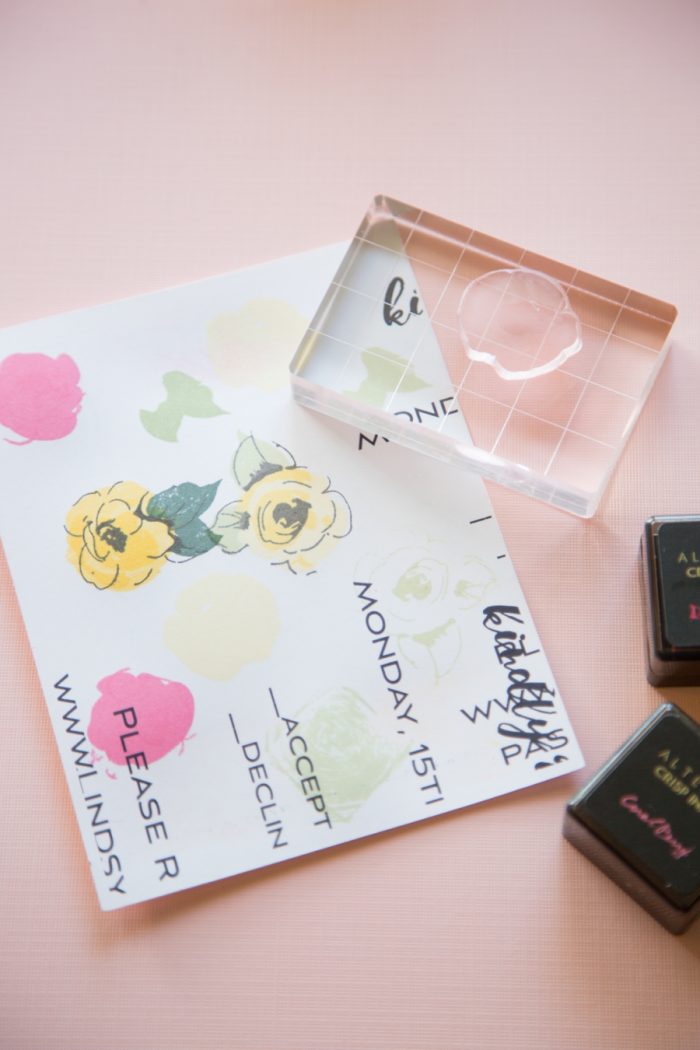
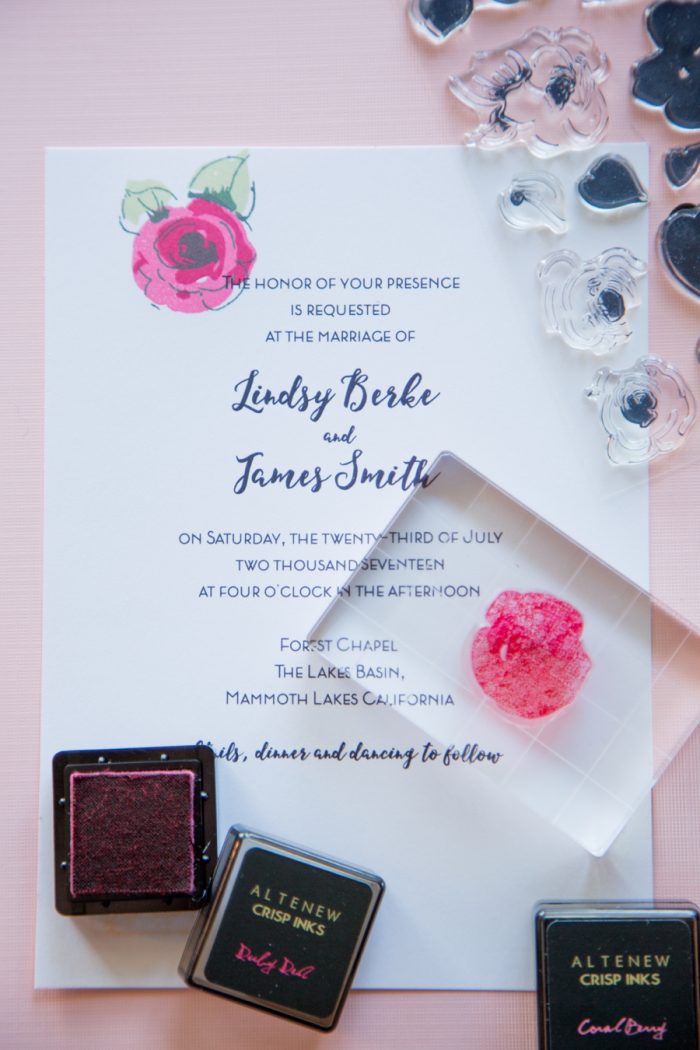
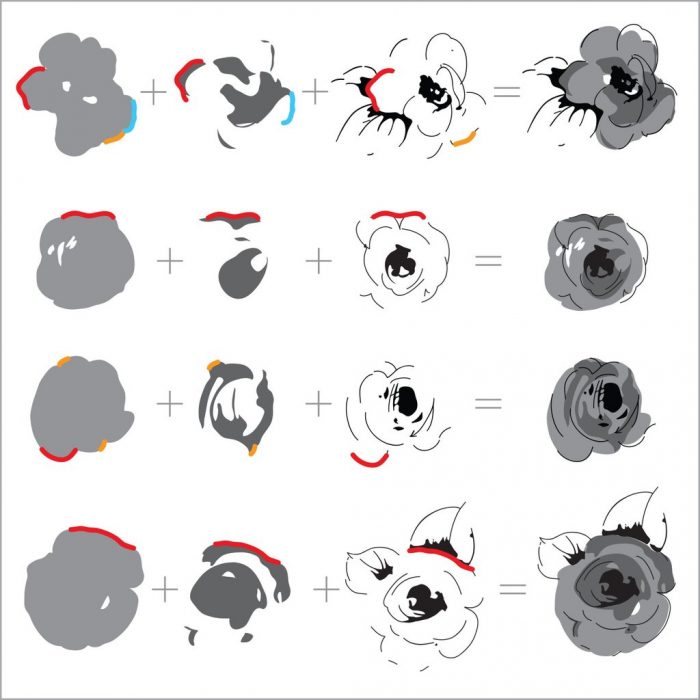
The Altenew Wedding Invitation Kit comes with a gorgeous layering stamp set called “Painted Flowers.” It allows you to expertly and quickly stamp beautiful multi-colored images. For layering guides, visit Altenew’s website or see below under “Tips and Tricks for Stamping.”
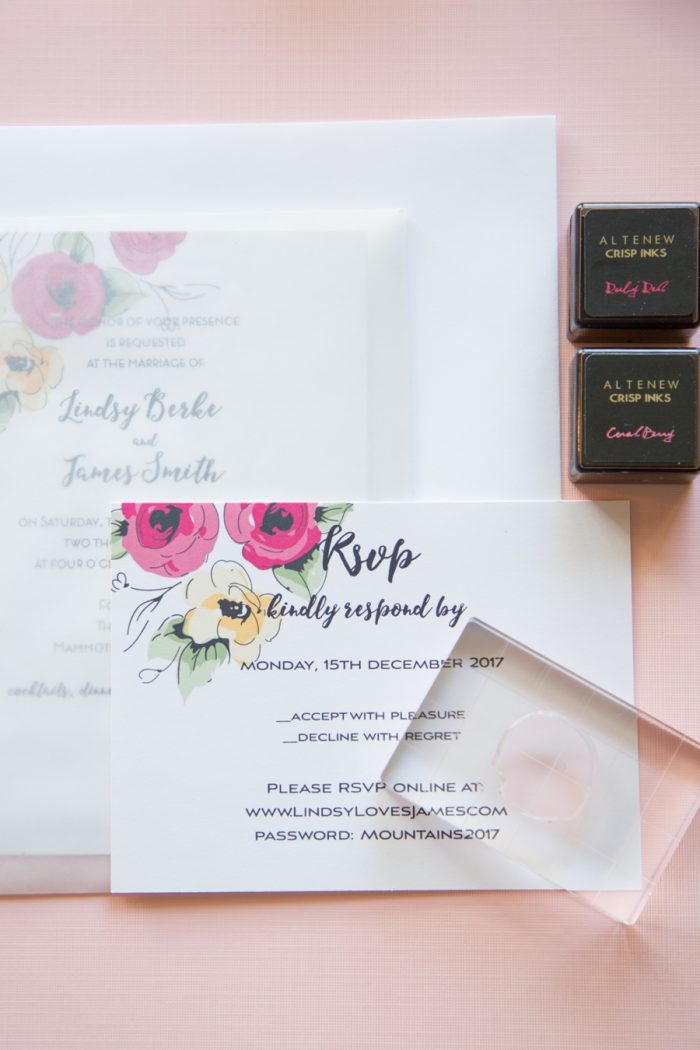
The kit comes with eight gorgeous, perfectly curated “Altenew Crisp Inks” mini ink pads in a yellow, red and green palettes, allowing you to make perfectly whimsical stamped flowers. The inks included are: Buttercream, Warm Sunshine, Coral Berry, Ruby Red, Frayed Leaf, Forest Glades, Evergreen, and Jet Black.
These inks are seriously amazing. They are rich in color, stamp crisply and dry to a smooth, beautiful finish. Note that the stamped impressions will become lighter once they dry.
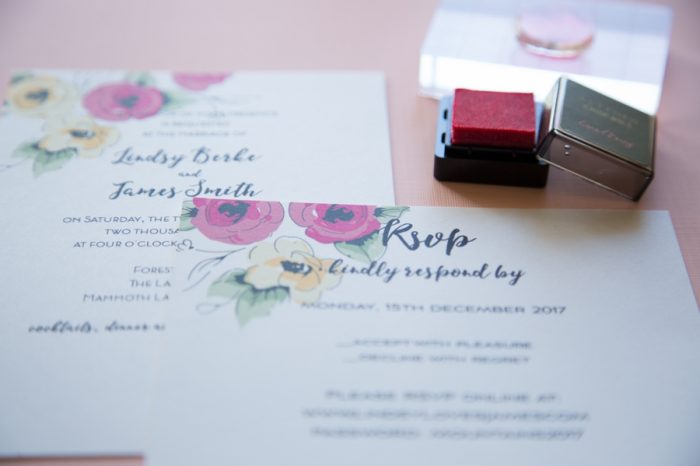
Altenew Wedding Invitation Kit Review
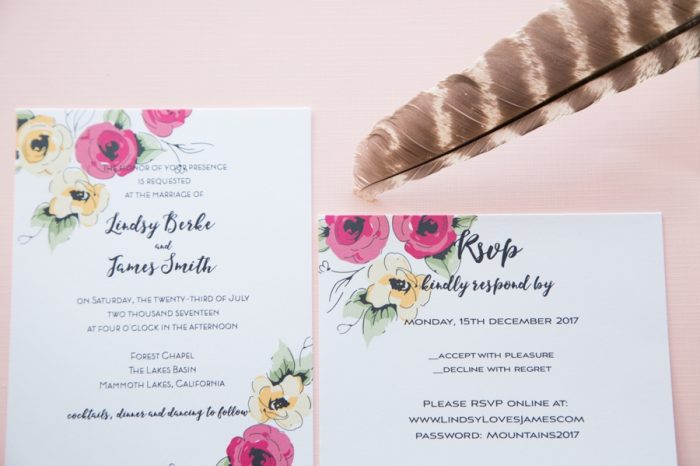
This is a beautiful kits that you can use again and again. Because Altenew uses standard card sizes and because they have a thank you card template, you can also use this kit to create beautiful thank you cards for years to come.
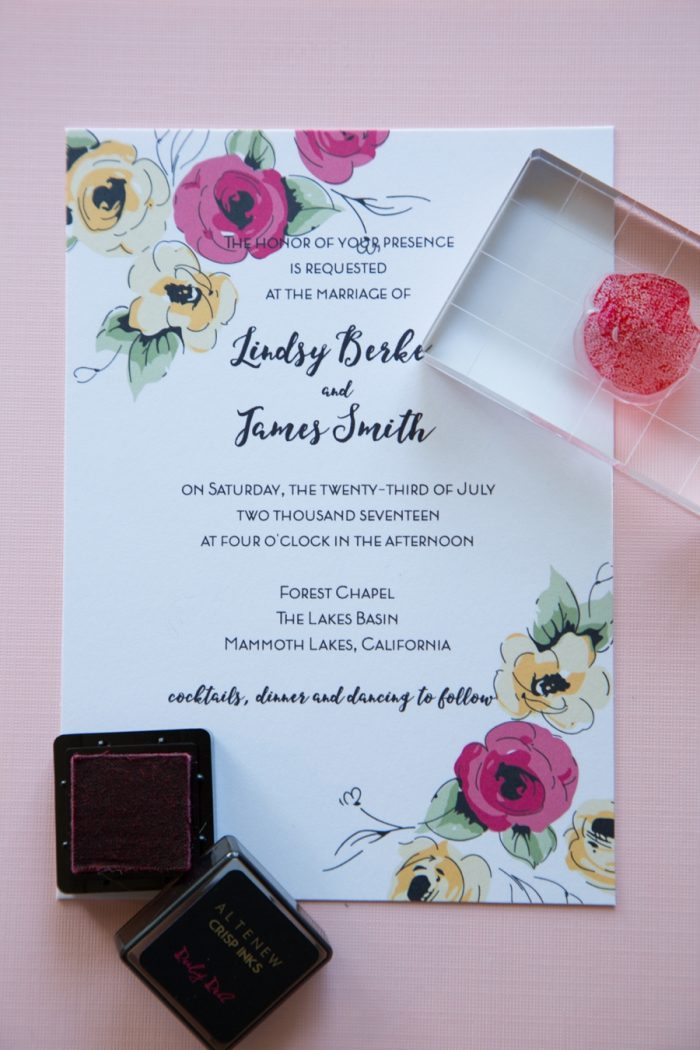
The stamps are high quality and stamp crisply, especially when used with the Altenew Crisp Inks. These stamps will last a pretty much forever if you make sure to care for them properly, cleaning and drying them after each use and storing them in a cool dark place away from sunlight and heat.
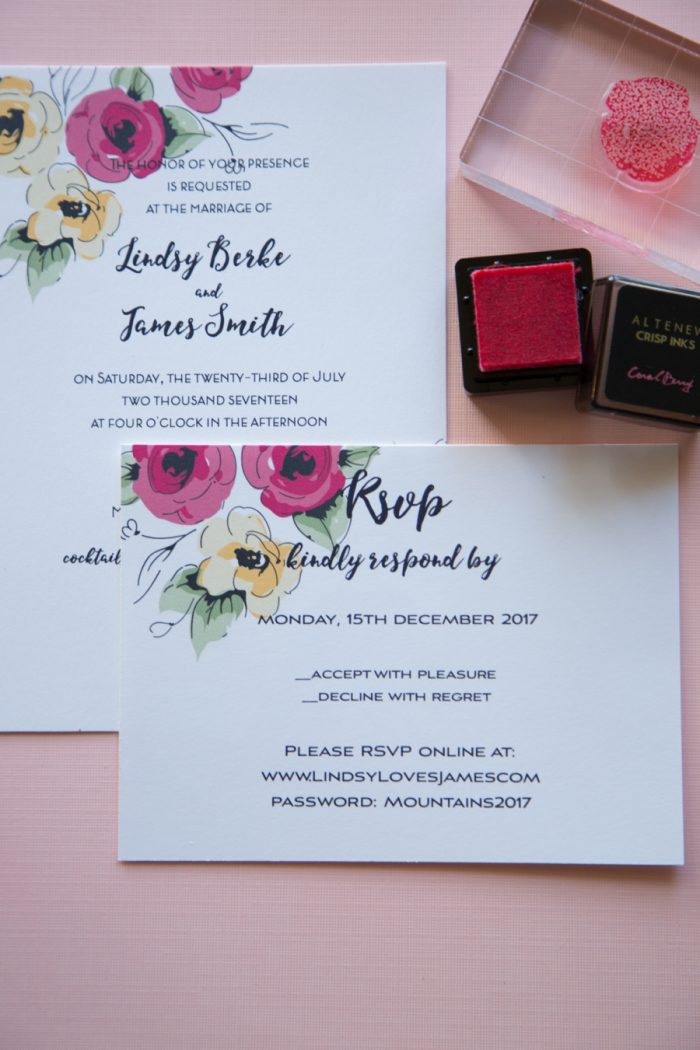
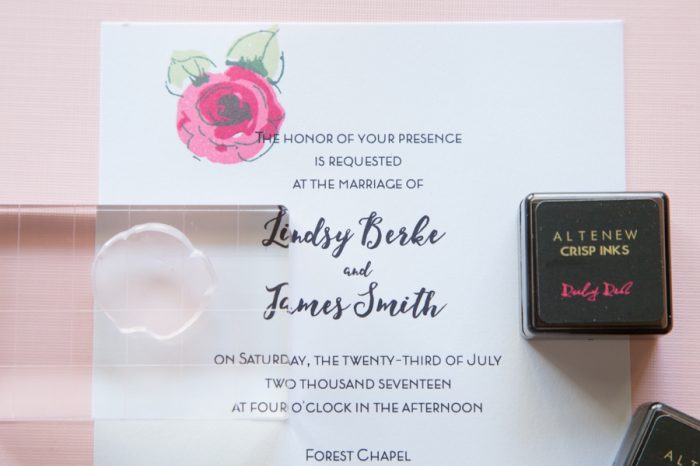
I also love that you can stamp right over the invitation wording. Did I mention that these inks are amazing? They are rich in color and look amazing once dry, but they are also slightly opaque, allowing the invitation wording to come through when stamped over.
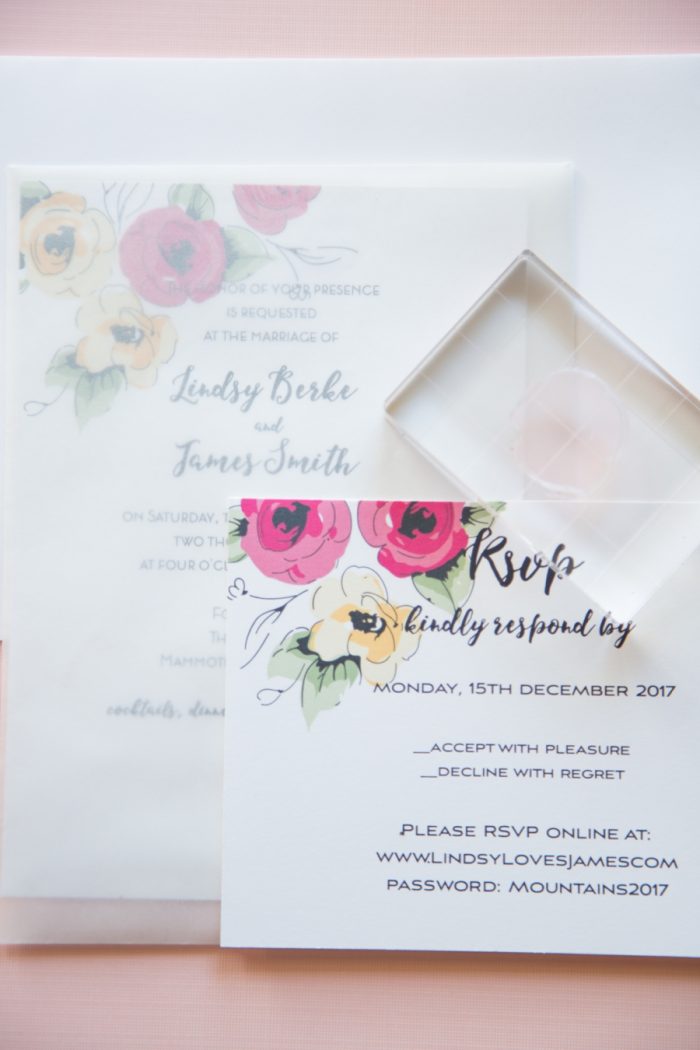
The RSVP card comes with two template options: 1) RSVP online and 2) an adorable RSVP postcard. The only thing I was disappointed in was that there is no option to mail the RSVP back in an envelope. This is not a big deal by any means. I just prefer envelopes to postcards.
Tips and Tricks for Stamping
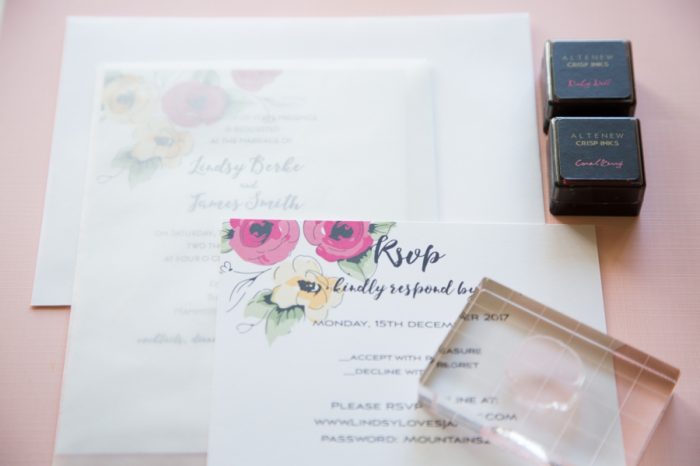
Stamping multiple cards can be time consuming. To streamline the process, create an assembly line and complete one step on every card before moving to the next. You can (of course) stamp one card from start to finish and then move on to the next one, but in my experience that takes more time.
- Use the “Painted Flowers” stamping guide below to properly align the flower and leaf layers for the best results. Don’t worry if you don’t align your images perfectly – little imperfections make your stamping unique!
- Start with the base layer (the largest stamp). Mount it onto a clear block, ink it up using the lightest color, and stamp following your selected design.
- Ink the second (slightly smaller) stamp layer in a slightly darker color, and stamp on top of the base layer, following the stamping guide.
- Repeat with the third (smallest) stamp, using the darkest color of ink.
- Follow the same steps for the leaf image.
Printing Tips
Make sure to first print and then stamp your thank you cards. The heat from the printer can change the ink color of the stamped images so it’s best to first print and only after that stamp.
Set your printer’s paper type to Heavy Paper or Cardstock in the Paper Type settings menu.
Be sure to manually feed the paper, rather than placing a stack of blank cards on the printer’s tray. This will help minimize paper jamming.
Tips for First Time Stampers:
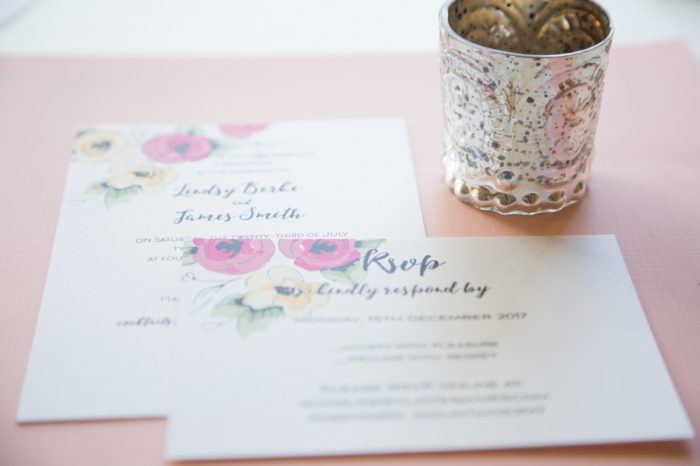
The number one tip I can give you is to Practice, Practice, Practice! The Altenew Wedding Invitation Kit comes with 3 practices pieces for each card. If you need more, feel free to cut down some premium card stock.
For best results, please follow the steps below.
- Gently remove stamp from the backing sheet and mount onto a clear block. The stamp will stick to the block.
- Ink stamp by gently tapping on an ink pad.
- Press stamp firmly on desired surface. Practice a few times before stamping on your thank you cards.
- Use a wet wipe to clean your stamps after each use.
- Some inks might stain your stamps, but this will not a affect the stamp quality.
- Return your stamps to the clear sheet and store away from direct sunlight.
- If stamps lose their stickiness, simply wash with mild soap and water then air dry.
