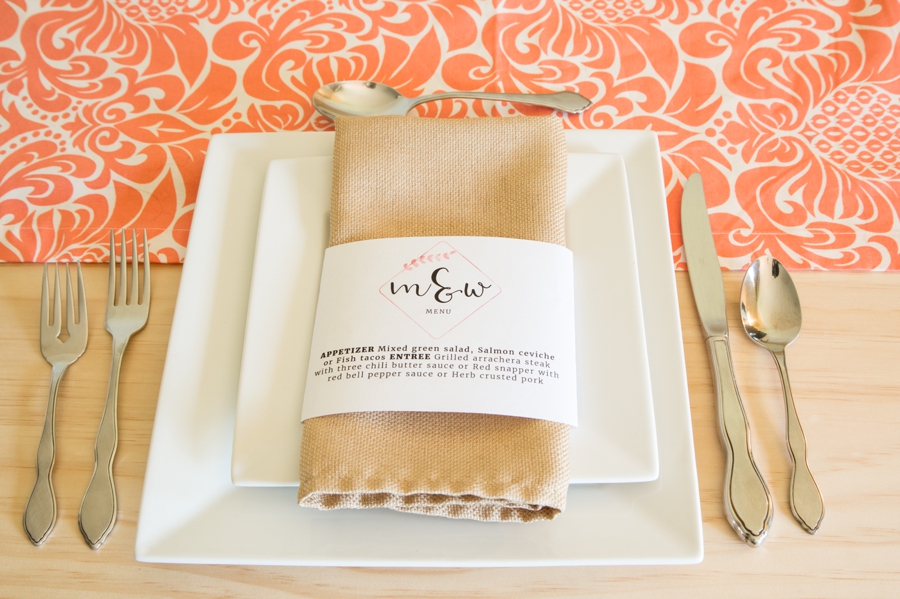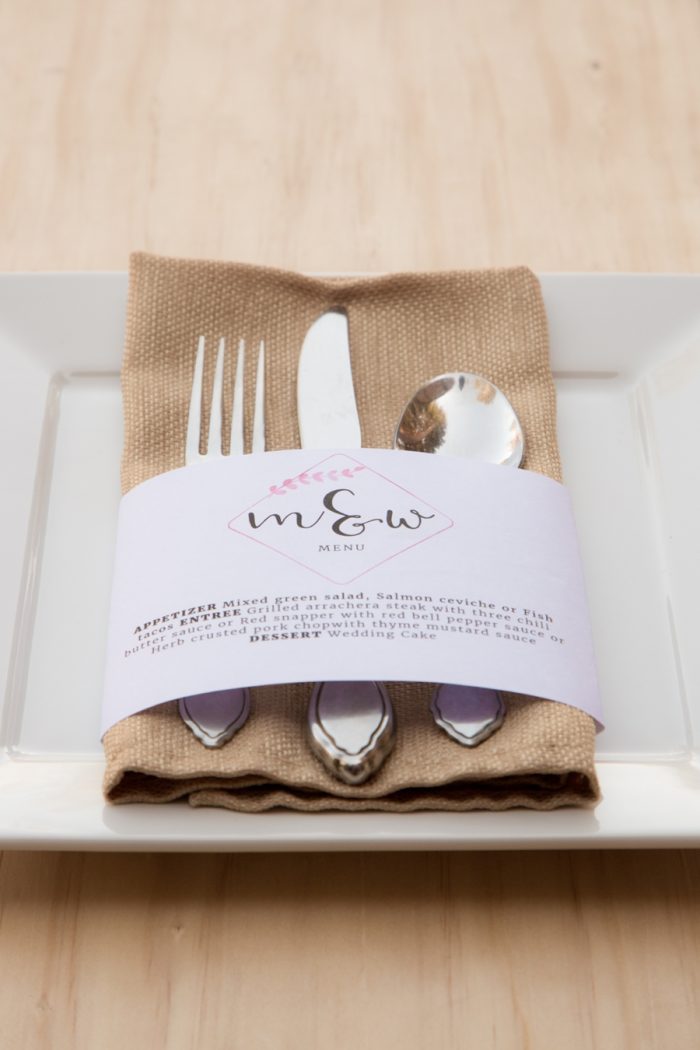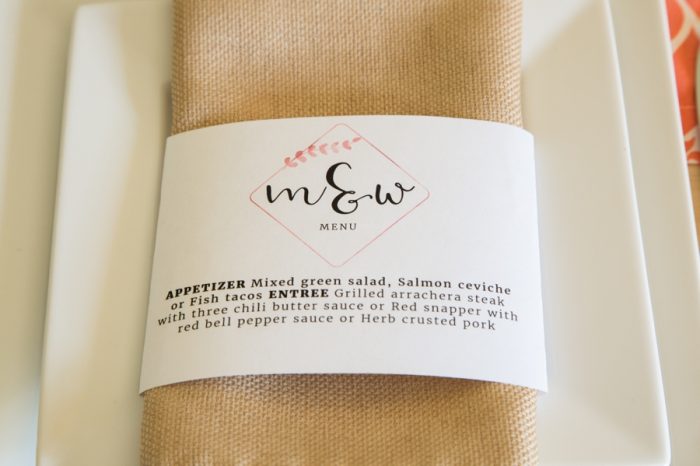
DIY challenged? Time-strapped? These easy-to-do and perfectly personalized menu belly bands for napkins are the perfect solution. Your wedding day logo or hand-selected fonts provides the personalized touch. The rest is just printing, cutting and taping.
You’ll need:
- 8.5″ X 11″ paper. I prefer plain lightweight computer paper. If you want something fancier, look for papers in the 20 lb – 40 lb range. Heavier card stock papers will require a scoring board and bone folder.
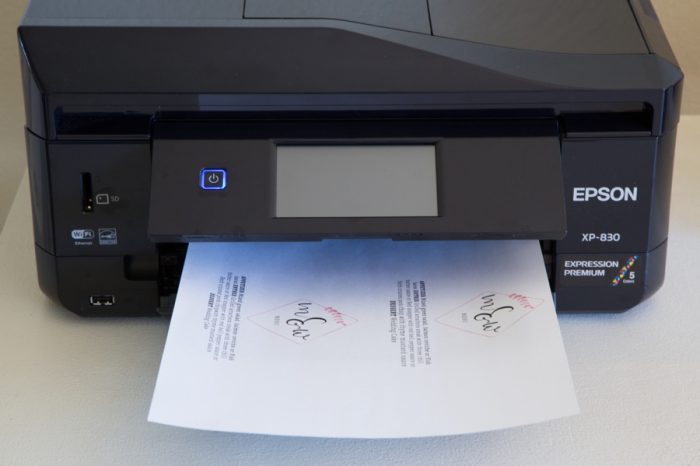
- A Printer. I used my new Epson XP-830. This project does not require a back feeder, so any home/office printer should work. If you’re curious about my printer, you can read my review.
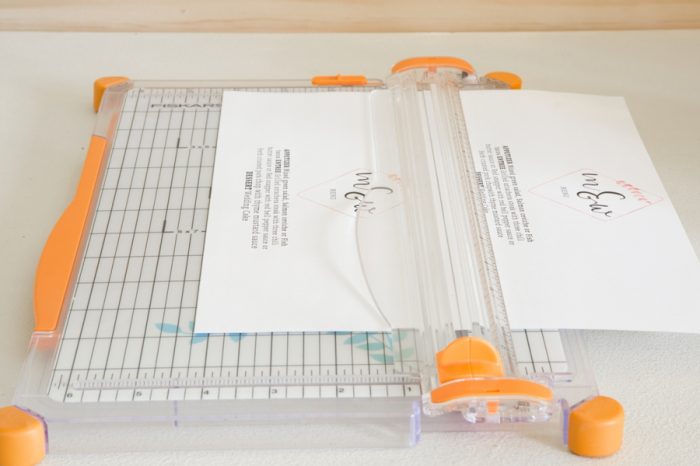
- A Paper cutter. You’ll need it for straight, even cuts. Don’t use scissors.
- Tape. I used clear scotch tape, but if you want to get fancy, you can always use Washi tape. I recommend you put the Washi OVER the scotch tape, since Washi tape is much less sticky.
Step 1: Design
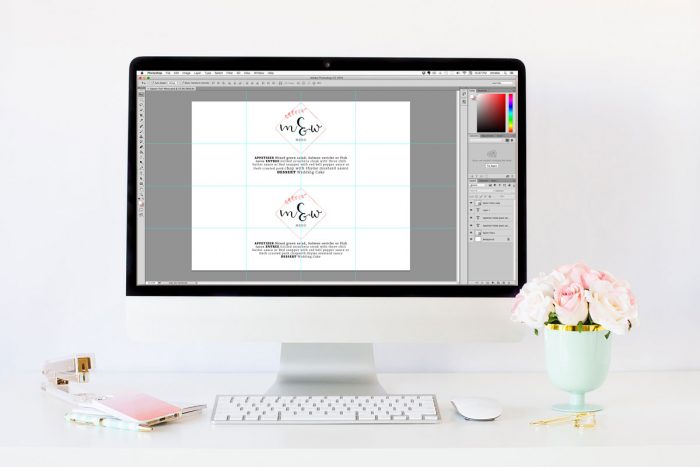
I designed in photoshop, but this can also be done in PowerPoint, Keynote, Word or Pages since you’re using a regular-sized piece of paper. Where you’ll get creative is with your logo and/or design. I used the Humongous Girlpreneurs logo set from Creative Market to find and customize a logo. I used Photoshop to design my belly band, but you can use Word, Pages, Powerpot or Keynote as well. The trick is to make sure the logo and menu will be centered on your napkin and that it will cut evenly on the horizontal plane. Be sure to do a few practice prints before committing to a 100-page run.
Step 2: Print
This likely seems self explanatory. However, do take the time to figure out your settings for your printer, including paper handling and color profiles. Again, this is a step you’ll want to practice to ensure you get it perfectly.
Step 3: Cut
When I was DIY-ing my own wedding invitations, I used a simple, light-weight Cricut Paper Trimmer and it worked just fine. I’ve since upgraded to the Fiskars 12″ Inch Trimmer and it also works beautifully. One tip I have for you here is: Make sure you stock up on a couple of replacement blades. Paper tends to dull blades quickly. If you see your edges getting raggedy, replace the blade.
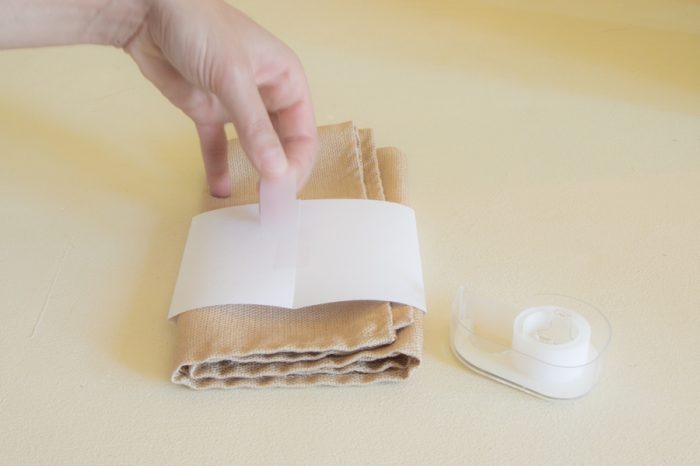
Step 4: Secure
This step couldn’t be more simple. Just wrap the belly band around your napkin and secure the back with a piece of transparent scotch tape. Done and Done.
Step 5: Style
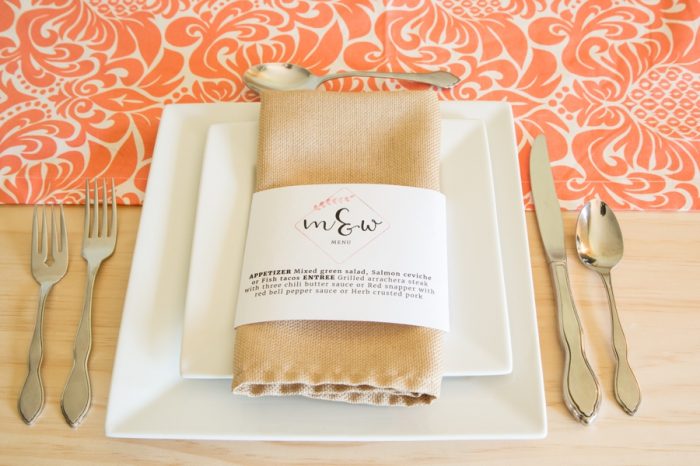
Place napkins on plates or at place settings for a pretty and unique way to show off your wedding day menu.
Variations
- Tuck forks, knives and spoons inside the belly band for a more casual look and feel.
- Write guest names in belly bands instead of the menu and use them as place settings.
- Have fun facts about the couple and each family to serve as conversation starters at the table.
- Offer trip ideas and mini itineraries for weekend and destination weddings.
- Print out digital papers for a unique and customized addition to your wedding day decor.

