


I was delighted to get my Handcrafted Honey Bee Lip Balm Kit in the mail the other week. I have had a lip balm kit on my wish list for a while, so when a local vendor from the High Desert can on my radar, I couldn’t wait to try it. I’ve made my lip balm for an upcoming blogger trip to Breckenridge, CO but they are also perfect for bridesmaids survival kits, mountain welcome bags, or even wedding favors! Each kit makes 20 tubes of lip balm.
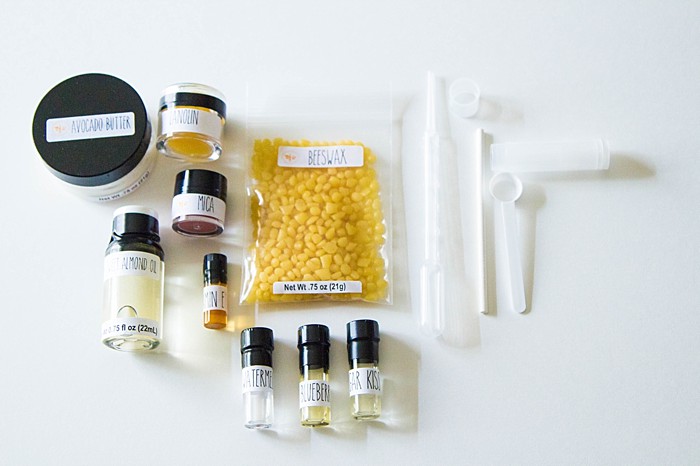
Included in the kit:
I loved how everything is measured out. I often go to the craft store and buy a whole bunch of tools materials that I’ll only use once. With this kit, there is no waste.
- Avocado Butter
- Beeswax
- Sweet Almond Oil
- Lanolin
- Flavoring Oil
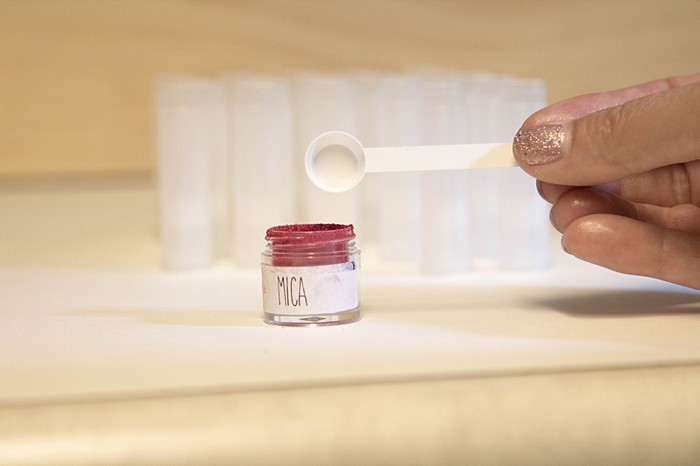
- Optional Mica (for coloring)
- Vitamin E
- Lip Balm Tubes & Caps (x20)
- Labels (x20)
- Pipettes (x3)
- Mini scoop
- Stirring Stick
Step 1: Prep
You’ll be working with warm products that cool quickly, so it’s essential that you organize your materials before you start.
Arrange your lip balm tubes in several rows spaced evenly apart, at about 2-3 inches. You want them to be close enough to allow you to move quickly from one to the other while your filling, but not so close that you’ll knock them over while working.
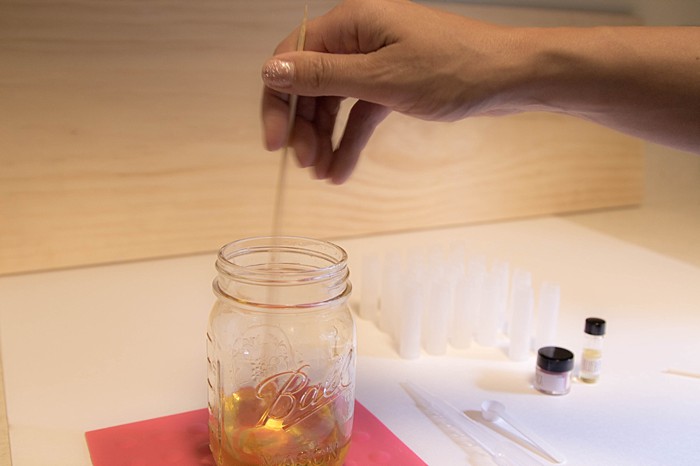
Step 2: Heat Base Oils
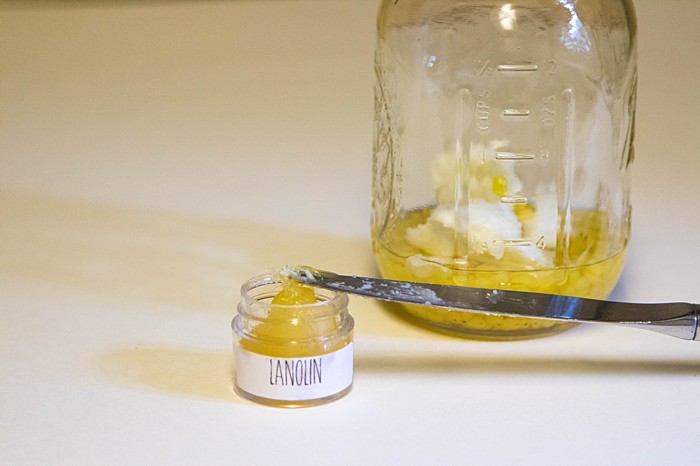
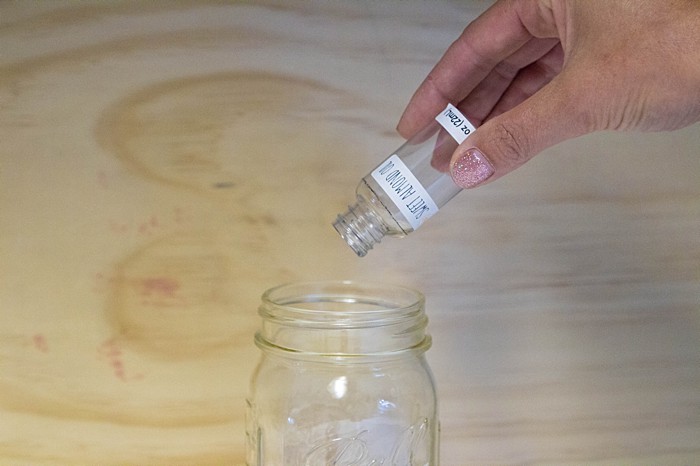
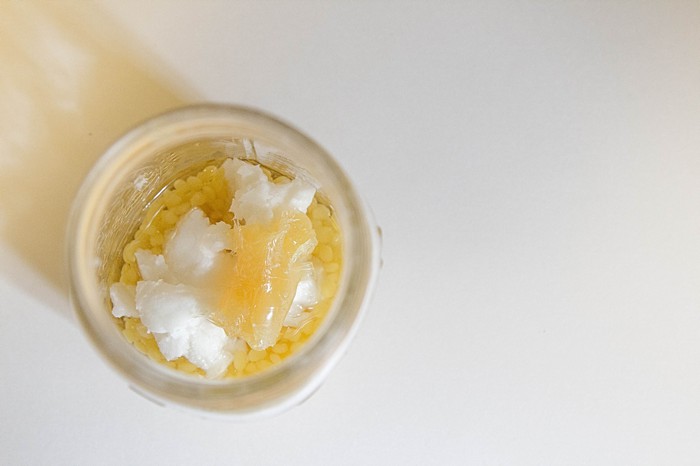
Combine beeswax, avocado butter, lanolin, and sweet almond oil in a pint mason jar.
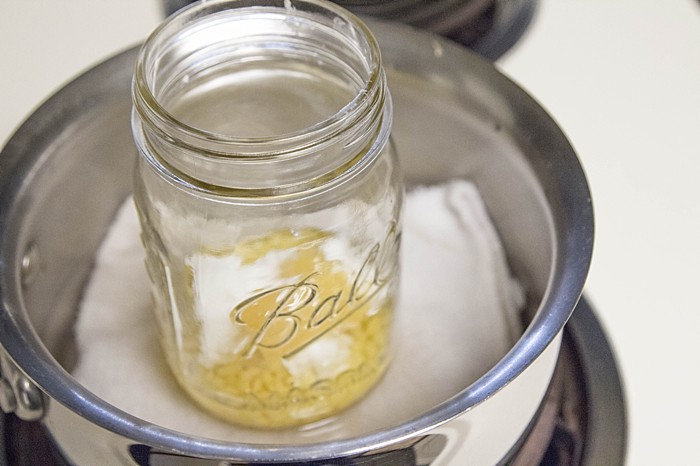
Place a jar in a pot with about 1-2 inches of water. Heat together on the stovetop with medium-high heat until the ingredients are melted. (Tip: Placing a washcloth beneath the jar might avoid any risk of the jar cracking).
Tip: The lanolin is sticky, and the avocado butter is thick. Remove both with a butter knife.
Microwave option: I don’t have a microwave. I personally think they do bad, bad things to food. But if you;d rather use a microwave, combine the above ingredients in a microwave-safe glass container such as a pyrex measuring cup.
Heat the ingredients on high for short, 20 second bursts, checking & stirring after each time. Heat until melted, and make sure you’re careful NOT TO OVERHEAT.
Step 3: Add Vitamin E, Flavor and color
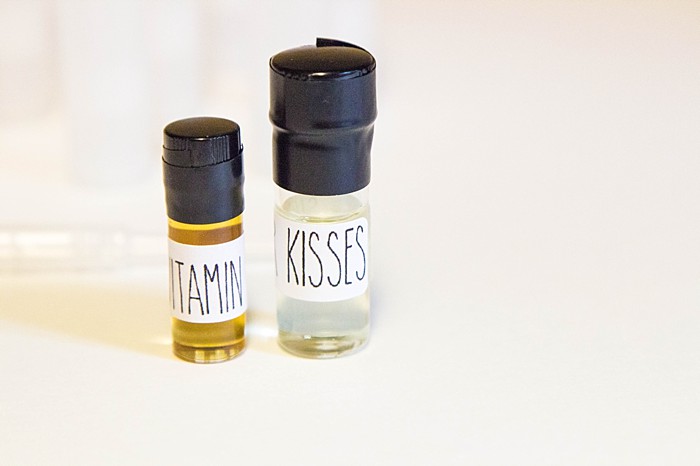
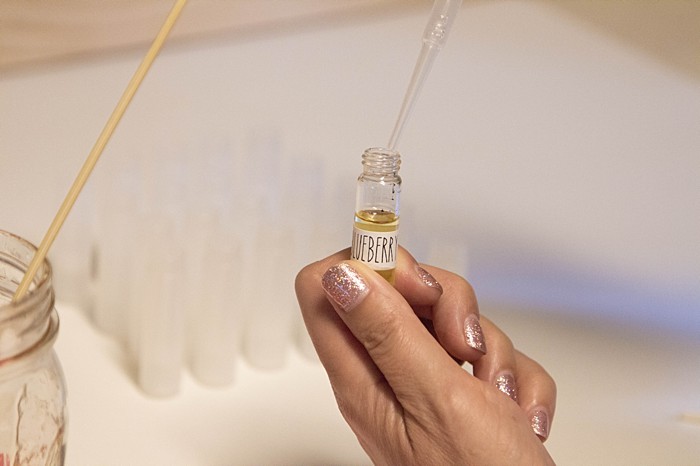
Once both ingredients are melted, remove from heat. Using a pipette, add approximately 0,5 mL of Vitamin E and mix well (The included pipette has measure marks.) Using another pipette, add between 2.5 – 5 mL of flavoring oil, depending on your preference. Stir well.
Optional: of you are using mica to color your lip balm, add it now (1-3 scoops).
Step 4: Fill
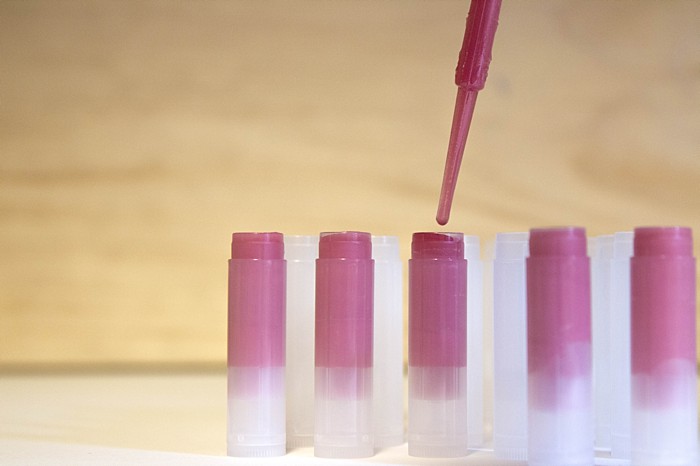
Fill each lip balm either by pouring the lip balm or by trying to use a pipette.
Tip: Work to fill the tubes as quickly as you can so the wax doesn’t harden before you are done. If this happens you can gently re-melt the mixture.
My pipettes clogged. So I carefully poured the mixture from a pyrex measuring cup.
Step 5: Cool
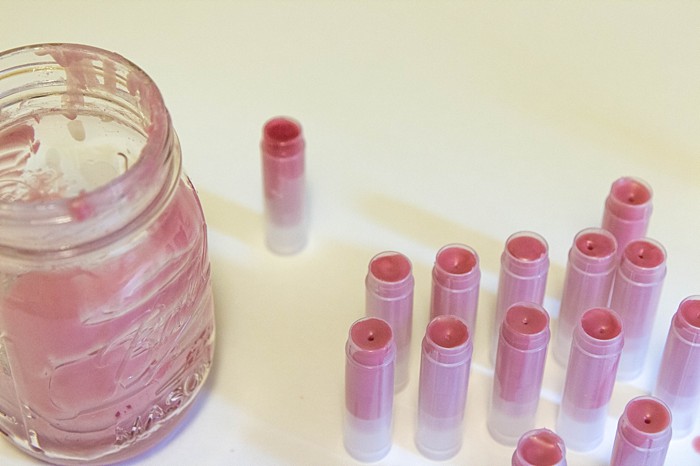
Let your lip balm cool, undisturbed for at least 20 minutes before placing the caps on the tubes.
If you’d like to speed up the process, you can place your lip balm in the refrigerator after 5-7 minutes or once your lip balm is completely solid.
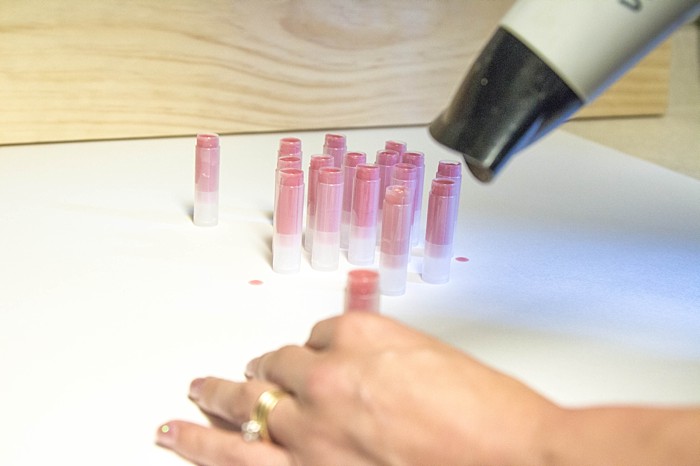
If you want your lip balms to look neater, use a hair dryer
Clean up tips
If you used a pyrex measuring cup or want to reuse your mason jar,
- Lay three to four layers of damp paper towels onto a cookie sheet.
- Place the measuring cup upside down on top of the paper towels.
- Pop the cookie sheet into a cold oven. Turn the oven on its lowest temperature setting.
- Warm the measuring cup for three to five minutes, making sure to watch it at all times to make it melts and doesn’t burn.
- Once the oils are melting, remove the cookie sheet and place it on a heat-resistant surface like the stove top or a trivet.
- Using an oven mitt, pick up the measuring cup and wipe out the inside of the cup with a paper towel, covered in liquid dish soap. The soap will absorb the residual oils.
- Wash the measuring cup immediately in warm, soapy water. Do not allow the cup to cool before washing or any remaining wax base will coat the cup.
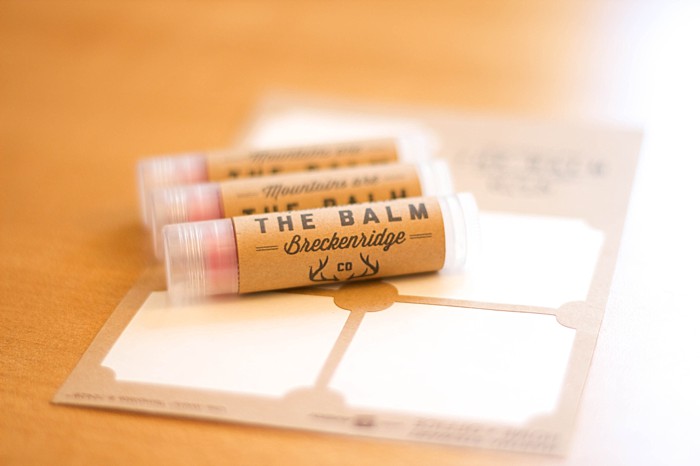
Labels
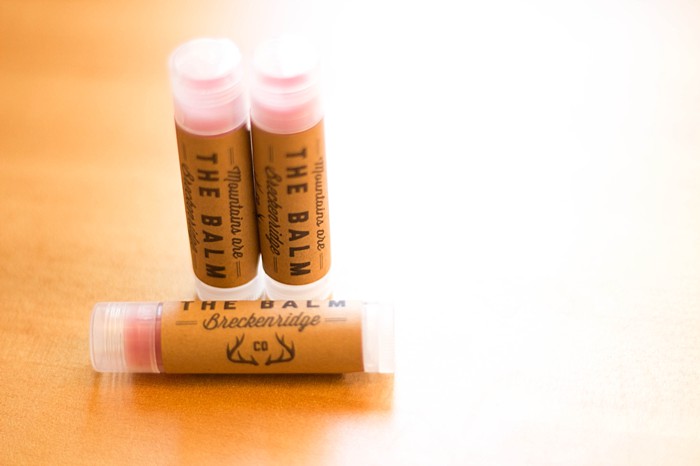
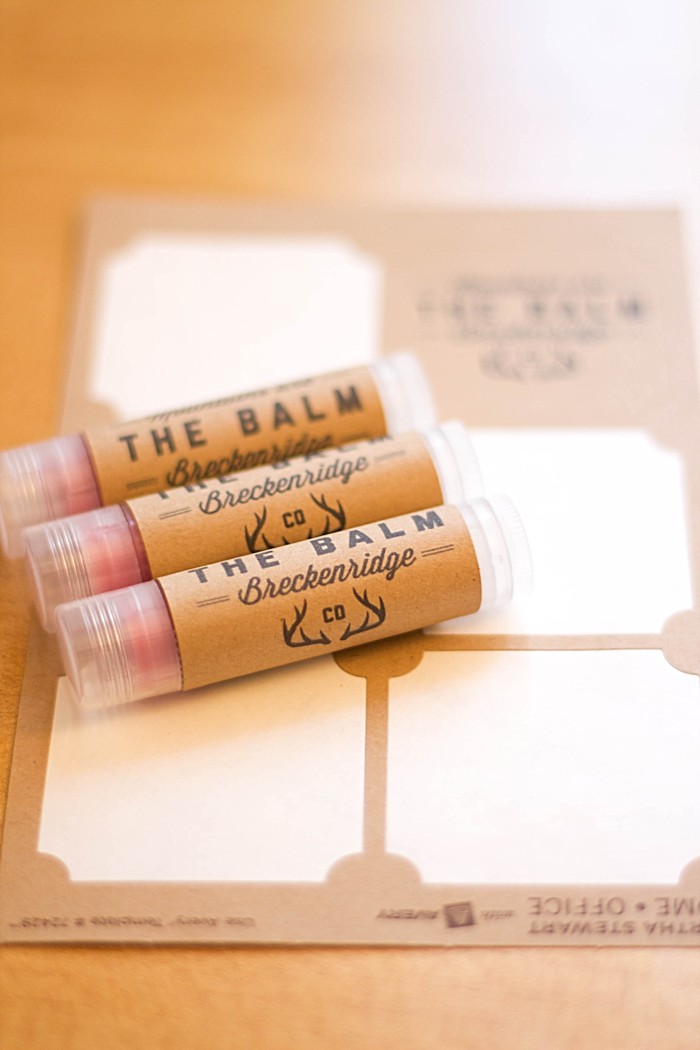
I actually got the idea for the labels from Something Turquoise, which is one of my very favorite sources for pretty DIY wedding inspiration and ideas.
Like Jen, I used I used Martha Stewarts Home Office labels and used the handy template from Avery provides, and like Jen, I used a play on the words “lip balm” to create a “Mountains Are the Balm” concept..
For the design, I used The Woodsman design from the Vintage Logo and Insignia Starter Kit
Since we are going to Breckenridge, I used the general “Mountains are the Balm” and customized the location. You can use any location that you want. Or you can take a cue from Jen at Something Turquoise and use the generic phrase: “Our Love is the Balm! Handmade Lip Balm”
Resources:
- Order your Handcrafted Honey Bee Lip Balm Kit
- Order your Martha Stewart Office Labels on Amazon, or get them at any Michaels or JoAnns store.
- Download your Avery Templates