

Your wedding invitation will be your guests’ first clue about your wedding style and level of formality. stationery, wedding invitations, how to, guide , calligraphy. But there’s so much to think of and to do. How should they be addressed? What are the parts of the invitation suite, and how is it properly assembled? You may be wondering, “What is my stationer talking about? I have no idea what and enclosure is!” And “What’s up with the tissue in the invitation.” To help, I’ve written you an ultimate guide to wedding invitations that is especially for destination mountain brides (hint: pay attention to the timing, it’s different for you). Enjoy!
Parts of Your Invitation
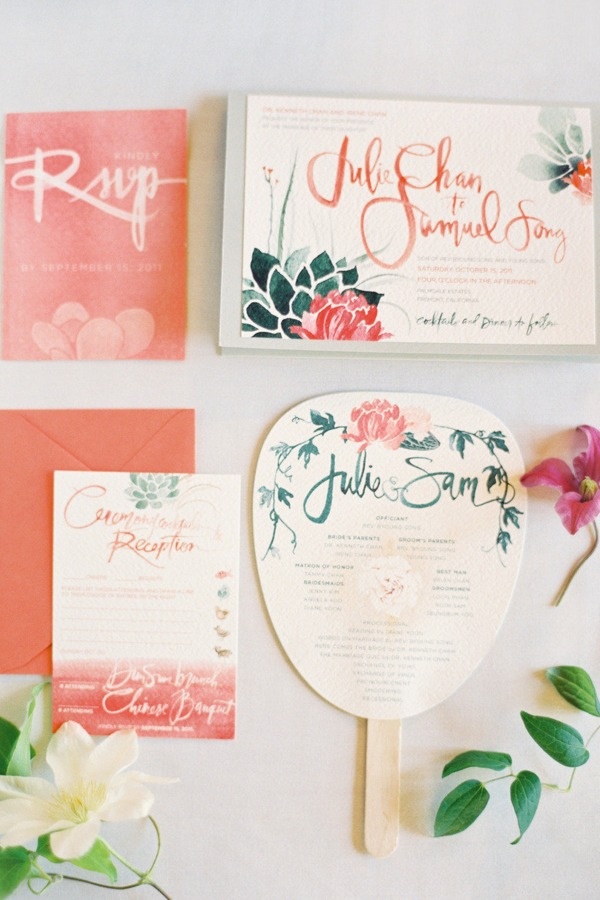
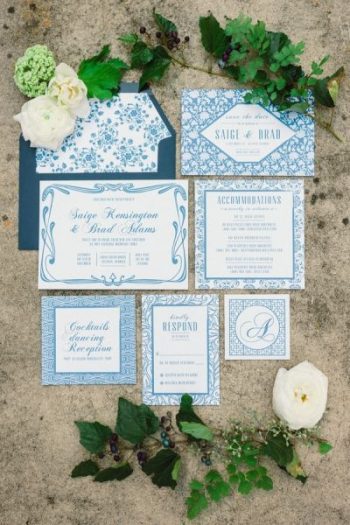
The envelope: List the full name and address of each guest, using formal titles such as Mr. Mrs. , Dr. You can address them by hand, a calligrapher do them or have them printed. Most popular options today are calligraphy or printing.
The invitation card: For formal weddings the invitation is to the wedding ceremony and a reception card is included separately. For an informal wedding, you can include that phrase reception to follow on you invitation.
The direction card: If your ceremony and reception are difficult to find, include a card for directions. This is especially useful for people traveling long distances.
The RSVP card: Be sure to include a “respond by” date. Typically you want everyone RSVP-ed two weeks before the wedding. Check when your caterer needs a final count and use that as an internal marker. You want to leave plenty of time for your family and wedding party to make phone calls to folks who forgot to RSVP. If you have meal options, you can include them on the RSVP card. Also, this is where guests can add “plus ones” if you allow them.
The Reception Card: Include the name and address of your reception venue, the start and end time and your dress code (i.e. black tie).
What’s up with that tissue, you say. Tissue was once used to protect the ink. Now it’s just a decorative nod to tradition and the past.
Assembling Your Wedding Invitations the Right Way
Step One: Smallest pieces first. Stack smaller pieces like the reply card and enclosures like maps on top of one another with the very smallest on top and that largest piece, which should be the actual invitation. in the back. Be sure that the reply card is slip under the flap of it’s envelop. If you have tissue or vellum, place it on top of the invitation if the invitation is a card.
Step Two: Place the suite in the inner envelope with the writing facing the flap.
Step Three: Place the inner envelope in the outer envelope with the names on the inner envelope facing the flap
The Language of Wedding Stationery
The first time you meet with your stationer, it may be overwhelming. She may be asking you to make decisions on invitation elements and materials you’ve never heard of before. Here’s a quick primer of the most common wedding invitation elements and styles so your meeting is fun! (Remember, Mountainside Bride is mobile responsive, so it looks great on an iPhone or mobile device, so feel free to book mark this page on your phone in case your forget something.)
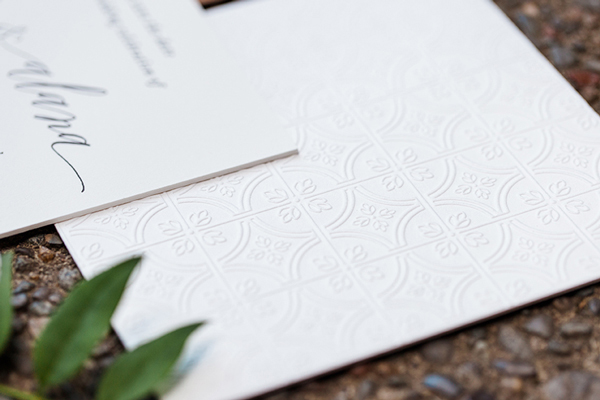
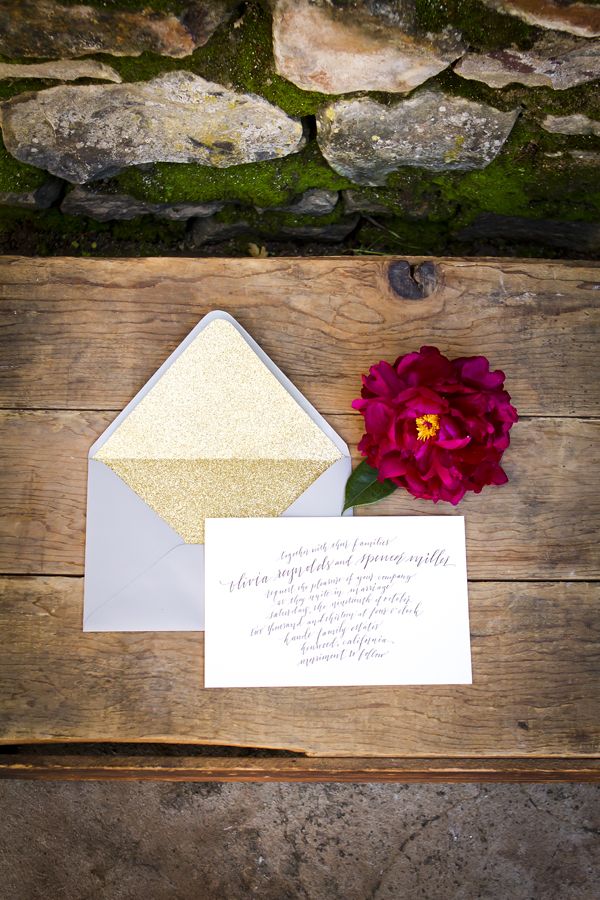
Blind embossing doesn’t use ink. It leaves a raised image that creates a structural element to your stationery.
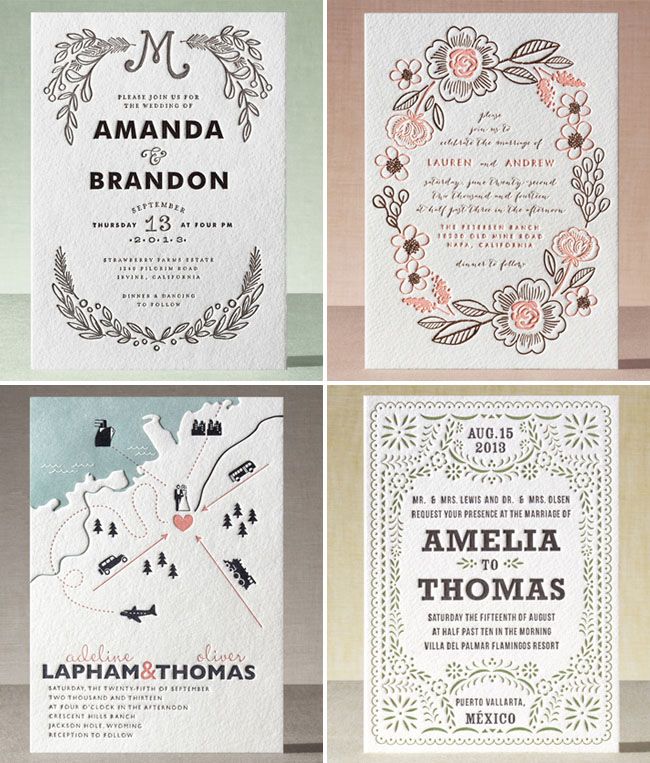
Border: A decorative strip that rims the card. It could be a graphic image, a band of color, an embossed area or something else.
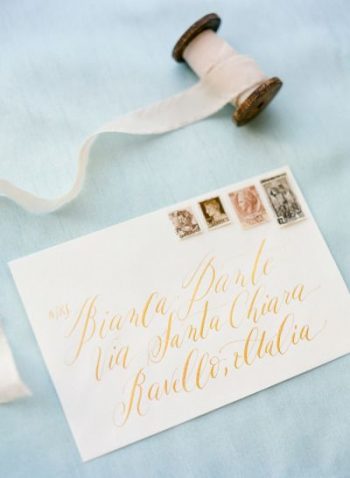
Calligraphy: A handwritten lettering, rooted in historic scripting, that lends an elegant look to envelopes. There are different styled of calligraphy, from traditional copperplate to more modern and whimsical styles. {Pinterest link}
Deckle Edge: A ragged border that looks somewhat torn and give paper a handmade look.
Embossing: A process of raising the artwork, lettering, borders, and images (such as logos and monograms) to form a relief on the card.
Enclosures: Any item mailed with the invitation, including the direction cards, maps, accommodation information, etc.
Engraving: A traditional printing technique that produces raised letters on the front of the card and indented letters on the back.
Font: One style of lettering at a specific point size and style of lettering. For example, 8 point Garamond italic.
Gatefold: An invitation that opens like a book.
Imprintable: A type of card stock that can be printed at home using a home computer.
Letterpress: A historic printing process that impresses words on paper from a metal, acrylic plate or block of some type.
Liner: Decorative paper inside of the envelop flap that compliments the invitation design.
Offset (or flat) printing: A technique that uses a rubber cylinder to transfer letters onto the paper. The letters are flat in this process, unlike the raised letters of engraving or thermography.
Overlay: A lightweight paper (usually vellum or tissue paper) that’s laid over a heavier piece of paper.
Proof: A sample copy of your invitation that you use to check for errors and misspellings before an entire run is printed.
Thermography: A process for infusing ink with powder to produce the feel of engraving without the price tag of engraving.
Vellum: Translucent paper often used as an overlay
5 Wedding Details You Need To Know Before Ordering Your Stationery
Invitations are ordered after some key wedding details have been decided on. May sure you have the following details nailed down before ordering invitations. Remember, if you change your date or venue after you’ve printed your invitations, you’ll have to shell out the money to print a whole new set, and, depending on your timeline, may end up paying exorbitant rush fees!
- Your wedding date: You can start getting wedding invitation inspiration before setting your date, but wait until your date is confirmed (i.e. you have your venue and core vendors reserved for your chosen date) before ordering your invitations.
- Your ceremony and reception location and start times: Provide your stationer with the full names and addresses of your ceremony and reception sites (including the city and state). Do this even if you;re having a local wedding or your venue is well known.
- How your and his names as well as your parents name should appear on the cards: You need to know whether you’ll be listing your parents at all. Even if they are not paying for the wedding you can still list parents if you’d like to follow tradition.
- Total number of invitations you want to order: You only need one per household (not one per guest). Couples and families with kids under 18 should only receive one invitation if they all live in the same house.
- Your budget: Be honest with yourself and your stationer about you budget. Letterpress invitation suites often start at $25-$30 each, and some have minimum buys, so it’s important to have an honest conversation about money at the outset so you don’t waste your or your vendor’s time.
Invitation Timeline For Destination Mountain Brides
12 months before: For destination mountain weddings, mail a Save the Date card out. It’s nice if the Save the Date matches the rest of your stationery, but it does;t have to. You may change your mind and refine your style between when you send your Save the Date and when you choose your wedding stationery.
7 months: Choose your invitation style and start shopping for invites. Order samples online or review stationery at a local store.
6 months: If you want to commission customer graphics or stamps for your invitation suite or reception stationery, start looking at least 5 months before your wedding. Easy is a good source for custom and handmade goods. Here are a few of my favorite round ups: {link to fresh finds}
5 months: If you are ordering letterpress or engraved invitations that require custom plates and are labor intensive, order them now. This allows you time for printing and delivery. Also, if you have decided to DIY your invitations start now and allow for early mistakes and mishaps.
4 months: If you’re ordering invitations with a quick turn around, you can order them 3 months before the wedding. This allows enough time for printing, proofing and delivery.
3 and a half months: If you’re using a calligrapher to address your envelopes, submit them to her 10 weeks before your wedding. You need to allow approximately 2 weeks to address 100 envelopes.
3 months: Assemble and weigh one invitation. Figure out the correct postage and mail one to yourself. This will ensure that it is delivered (i.e. the postage is indeed correct) and allows you to see what condition it arrives in. Ask that it be hand canceled.
2 and a half months: For destination weddings, mail your invitations 10 weeks before the wedding. Otherwise 6-8 weeks is standard.
1 and a half to 1 month: RSVPs should start arriving. A few days after the RSVP date has passed, call anyone who has not send a response. This is a great job for your maid of honor or mom.
Wedding Day! Save a full invitation suite and have your photographer snap photos of it.
All About Calligraphy
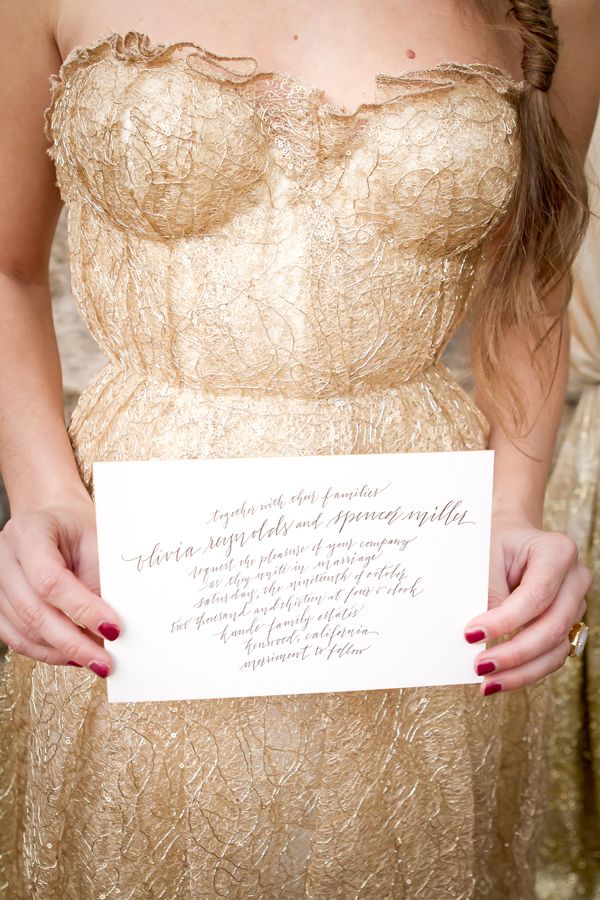
Pick a great calligrapher! You can look up a local calligraphy guild if you live in a major metropolitan area, or you can choose from any number of great online artists. You’ll also want to work with someone whose personality works with yours. There’s going to be a lot of communication and back and forth over etiquette lettering styles and you want a person who communicates well and is excited about the project as you are.
Pick a style! Review portfolios online or off and choose a calligrapher whose style you love. Calligraphy comes in all sorts of styles nowadays from traditional copperplate and book hand to more whimsical modern and romantic looks.
Give yourself enough time! A calligrapher generally needs 2 weeks to complete 100 invitations. If you’re using someone across the country who you found online, allow for shipping time.
Have all of the deets ready. You’re calligrapher will need a word document with the names and addresses of your guest list typed out as you would on an envelope. This gives that calligrapher a sense of line length and spacing. You calligrapher will alway want to know the weight of your envelope stock and whether or not your envelopes are lined. The thicker the piece that harder it can be to work with and the higher the price.
Know your budget. Some calligraphers charge by the line, others by the piece. Plan for $2.50 – $5.00 per enclosure.
Other places to use calligraphy. The inner and outer envelopes are the most popular places to use calligraphy, but you can also hand calligraphy your names on the invitation, or incorporate calligraphic elements on the enclosures, such and strategically on maps, Accommodations, Itineraries or Activities cards. Day-of paperie, such as escort cards, place cards, menus and table numbers are also fine places to include calligraphy.
Don’t limit yourself to paper. If your mountain destination has a local calligrapher, consider incorporating calligraphy into your signage, like chalkboards, vintage windows and wooden signs. Or on favor boxes, fabric, leaves, or any other detail you can think of!
Top 10 Ways To Save On Stationery
- Use your wedding website. Save money on RSVP cards and postage by directing guests to RSVP online. Most modern wedding websites come with and RSVP function and Google forms will work in a pinch. Also put accommodation information, maps and directions, and itineraries online and leave them out of your invitation suite if you;re strapped for cask or paperie is not high on your list of priorities.
2. Forego embellishments and extras. Envelop liners, custom inks and handcrafted details can get expensive in a hurry - Go for standard envelope sizes. Beware that the post office will charge extra for square and odd-sized envelopes.
- Do double duty. Put your ceremony and reception details on the same card.
- Choose your paper wisely.Imported, handmade and cotton papers can be expensive. Cut costs by choosing partially recycled and domestic papers. You find lots of color options so you won’t have to sacrifice style when your on a budget.
6. Opt for printed Invitations. Modern offset printing can be just as stunning and beautiful as more traditional processes like engraving and letterpress, but at a fraction of the price. - Order extras now to save money later. If you find that you need extra invitations at the last minute, you may find yourself shelling out extra for rush fees. Instead, order a handful of extras during your initial order.
- Have Guests RSVP online. Forego the RSVP card and associated postage and have your guests RSVP online. Many modern wedding websites not include and RSVP option, but you can also use a Google Form or Survey Money in a pinch.
- Start writing. Consider hand addressing each envelope instead of hiring a calligrapher. For casual fetes, this can add a personal, handmade feel to your invitations. Buy a calligraphy stamp {link to fresh finds} for return addresses and RSVP envelopes
- Print it yourself. Order blank invites from a place like {include BSB’s new stationery line} or {other share a sale affiliates} and print them at home. You can personalize them further by adding extra embellishments like ribbon, lace or little tickets.
Image Credits
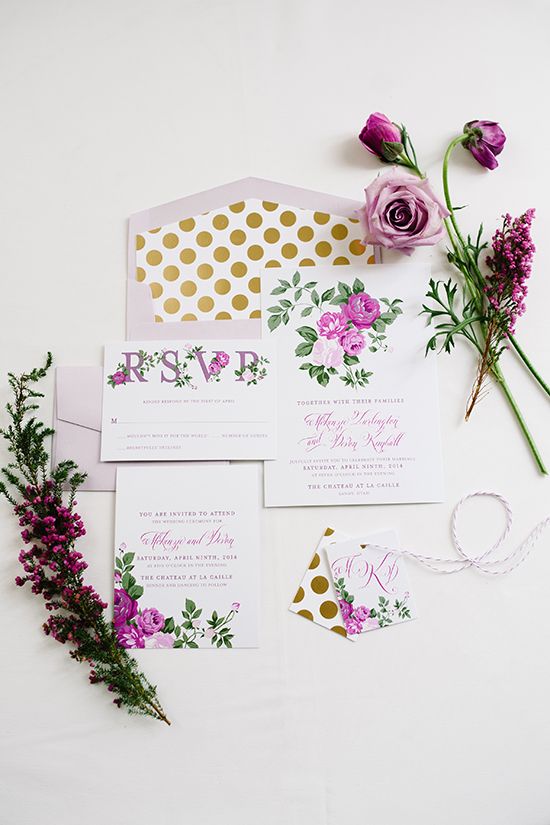
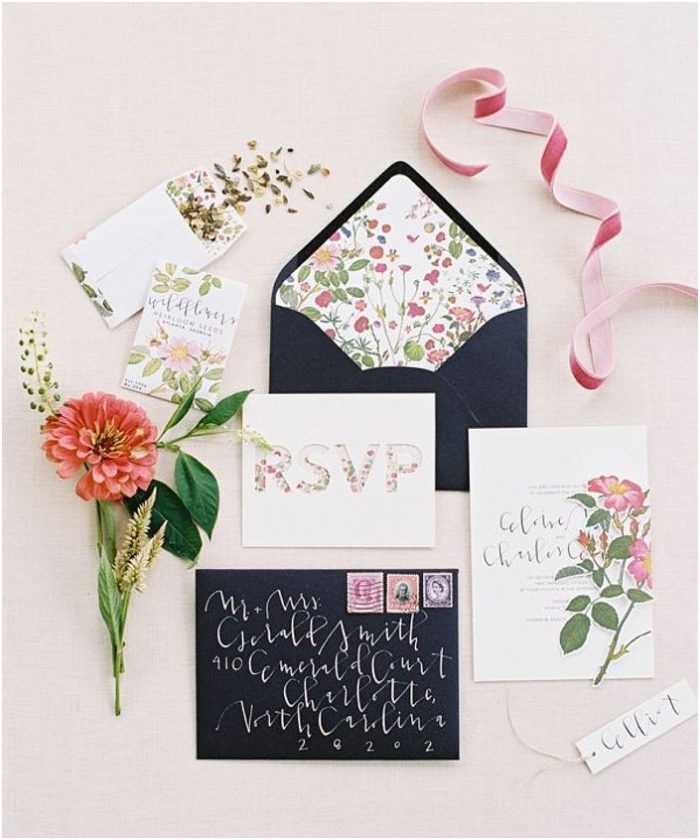
#1 Purple Stationery via Utah Bride Blog | #2 Blush and Gray Wedding Invitation Suite via The Bride Link |#3 Assembled Wedding Invitation Suite via Fly Away Bride | #4 Blind Emboss Letterpress via Oh So Beautiful Paper | #5 Hand Painted Wedding Invitations via Style Me Pretty | #6a Navy Wedding Invitation Inspiration via The Bride Link | #6b Gold Calligraphy via Style Me Pretty | #7 Gold Glitter Envelope Liner via Perfect Palette | #8 Calligraphy via The Perfect Palette | #9 Customizable Letterpress from Minted