


I wrote this post as part of a sponsored campaign with Darice and The Blueprint Social. The opinions in this post are my own.

There are some mountain brides who prefer bling over burlap. Actually, there are many of you. Well, you’re in luck. David Tutera, the king of sparkle, has a new wedding collection: David Tutera Bridal. It is full of sparkle, bling and easy to use details.
 . It is full of sparkle, bling and easy to use details.
This simple DIY chalkboard wine bottle centerpiece is easy to make and lends an elegant and dazzling vibe to your wedding. It’s perfect for an elegant hotel wedding or a cool restaurant wedding.
Supplies:

- David Tutera Bridal: Bling on a Roll
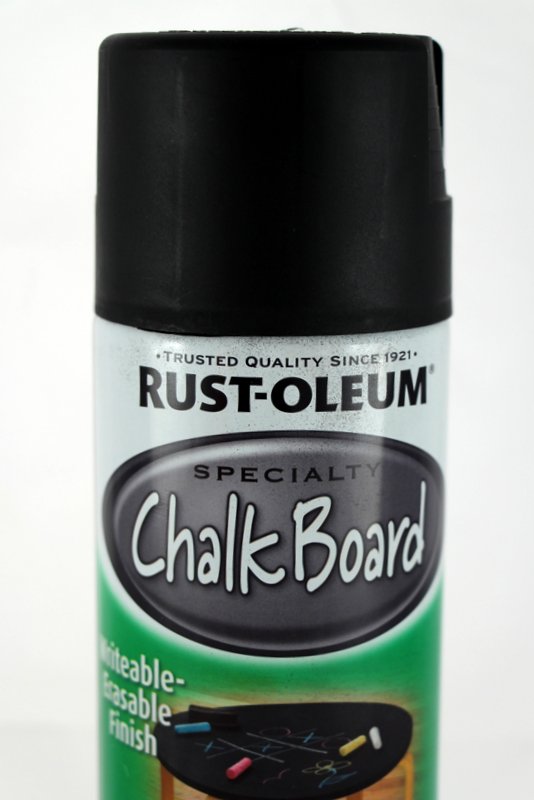
- Chalkboard spray paint
- White chalk ink pen
- Used green wine bottles
- Printer and paper
- Scissors
Step 1: Paint Your Bottles
Spray paint your wine bottles with a couple of coats of chalkboard paint and let dry.
Painting tips:
- Paint outdoors on a warm sunny day.
- Lay down plenty of newspaper or Kraft paper. I had a 4’x4′ sheet of kraft paper laid down for four bottles.
- Stand wine bottles up and apply three or four coats for maximum coverage.
- Once dry, turn wine bottles on their side and apply one or two coats to the bottom.
- Be careful, paint on glass can easily chip. Ask your local grocer for a wine bottle carrier to transport bottles.
- Use green glass wine bottles so any last minute chips won’t be noticeable.
Step 2: Print Numbers
Find a pretty font, and print it out as a mirror image.

Printing Tips:
- Go beyond the standard fonts found in Microsoft Office and search for pretty fonts on Dafont.com or FontSquirrel.com
- Make sure to flip your image so it’s a mirror image.
- Play around with sizes. You want it large enough to be seen on the bottle.
- Trim around the number with a pair of scissors.
Step 3: Trace Number with Chalkboard Ink
Trace over the number with chalkboard ink. Use enough to adequately transfer the ink to the bottle without too much drying, but not so much that it’s susceptible to smudging.

Tracing Tips:
- If your chalkboard ink is going on dry, pump the nib on a scrap piece of paper and use the excess ink that comes out to “paint” onto the paper.
- Print extra numbers in case you mess up and need to try again.
- This may take a bit of practice, but don’t worry, the supplies are inexpensive and become easy to use with just a bit of practice.
Step 4: Transfer Ink to Wine Bottle
Gently and carefully transfer the ink to the wine bottle by gently pressing the numbered paper with wet ink onto the bottle. Be careful not to move it around or smudge the wet ink.

Transferring Tips
- Think of the transfer as a stamp. Be very gentle with your placement. You may want to gently rub your finger over the number.
- Gently pull the paper straight up without smudging.
- This step may also take practice. If you smudge your chalkboard ink, simply wash it of with warm water. If you have left over ink that won’t wash off, simple spray some more chalkboard paint over the remnant ink.
Step 5: Fill in Number with Chalkboard Ink
You may find that only an outline of your number transfers over. That’s OK. Take your chalkboard ink pen and fill in the number.

Tips for filling in your numbers.
- To avoid streaking, make sure you have enough ink on the nib of your pen.
- To do this, go ahead and pump the nib on a scrap piece of paper again. Use the excess ink that comes out to “paint” onto the wine bottle.
- Don’t worry about perfection. Any imperfections won’t be noticed once the centerpiece is on your table amid flowers, dishes and glassware.
- You may want to choose a calligraphy font that will look great “unfinished.” And elegant calligraphy font also looks best with David Tutera’s sparkle and bling.
Step 6: Hot Glue the Bling Ribbon to the Bottle
Measure around the bottle and cut a length of bling ribbon that will fit exactly without overlap. Then use a hot glue gun to attach it to the bottle.

Tips for gluing
- You don’t have to cover the entire ribbon. Just glue the seam, the center, and two X’s on either side of the center.
- Move fast as the hot glue will dry quickly.

Follow Along:
- Become a fan of Darice on Facebook
- Follow @DavidTutera on Twitter
- @Darice_Crafts on Twitter
- David Tutera DIY Wedding on Pinterest
- David Tutera Bridal


More David Turera Bridal Projects from Around the Web